34. Sub-Contract Pay Apps (Invoices)

Viewing Invoices/Pay Applications

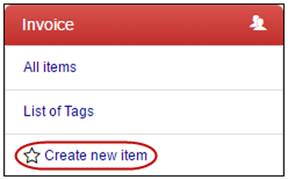
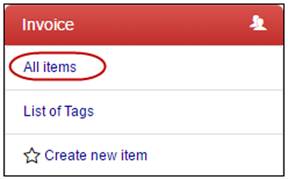
To view the Invoice or Pay Application log page, click the All items link in the left-side menu under the Invoices or Pay Applications thread.


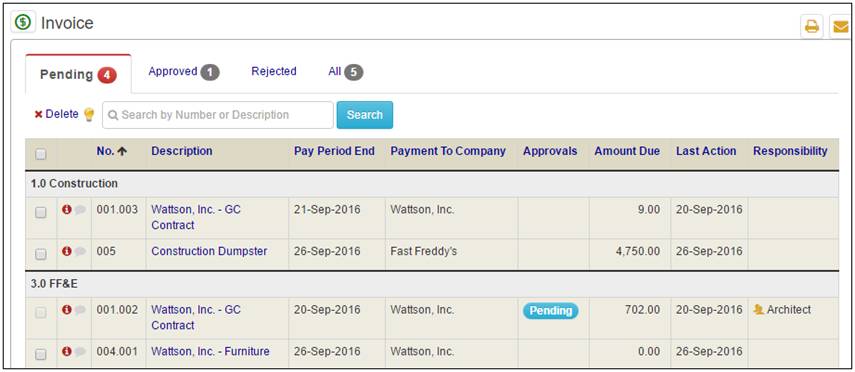
The log page displays.

To view an individual invoice or pay application, click the description link in the log page.


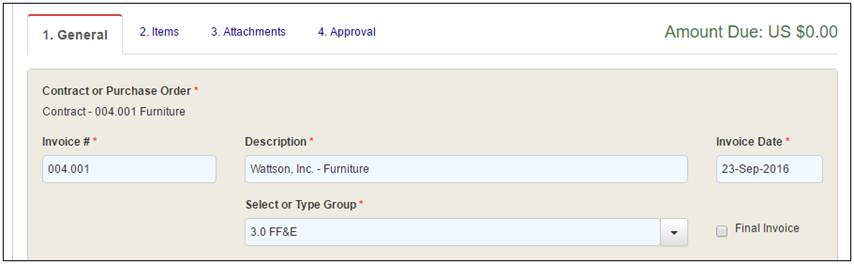
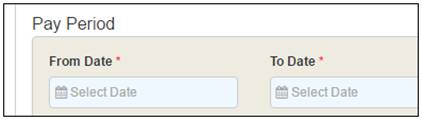
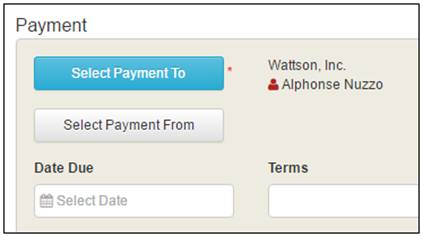
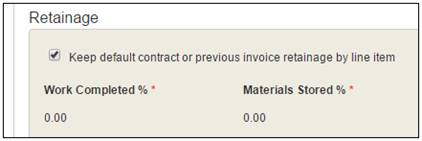
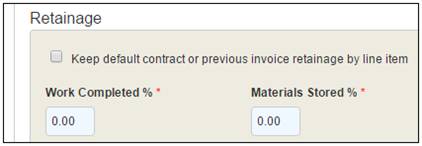
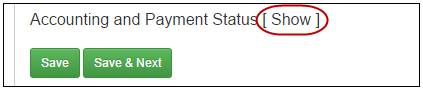
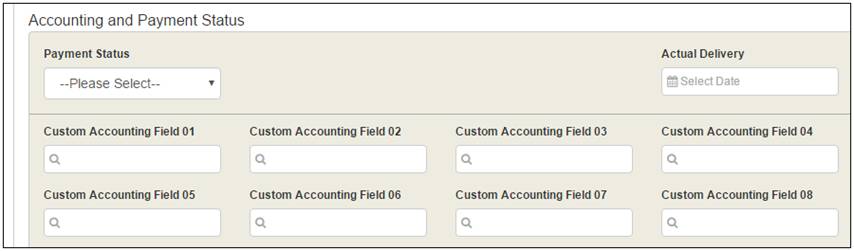
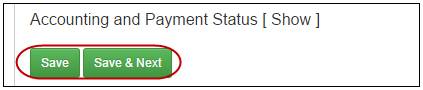
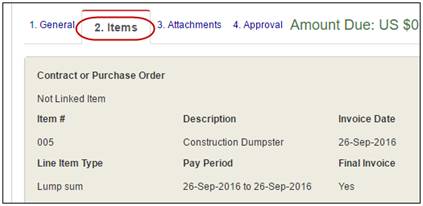
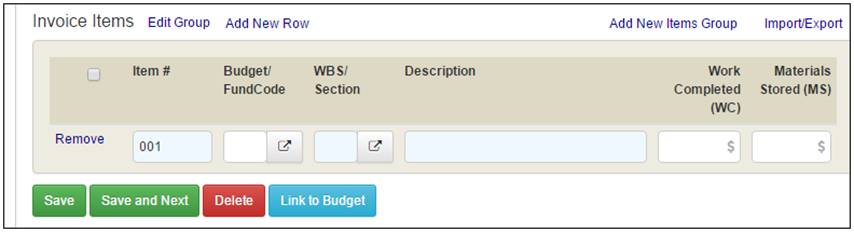
The Invoice or Pay Application details screen displays.


Adding New Invoices/Pay Applications

Invoices - General tab

To create an Invoice or Pay Application:

1.   Click the Create new item link in the left-side menu under the Invoices or Pay Applications thread.


The detail screen displays.


2.   Use the drop-down menu to select the Contract or Purchase Order for this invoice. Alternatively, select Non linked item for an invoice from external source.

Note: If you select a Contract or Purchase Order for this Invoice, then several of the fields will populate based on the Contract or Purchase Order.


3.   The Invoice # field is auto populated with the next available number. If you select a Contract or PO, it updates to reflect the next number for the set of invoices for the same Contract or PO. Alternatively, this number can be entered to coordinate with any external invoice numbers.

4.   The Description is populated to reflect the Contract or PO, if one is linked to this Invoice. If this is a non-linked invoice, or if you want, you can enter a description for this invoice.

5.   The Invoice Date is auto populated based on the current date. If desired, you can change this.

6.   The Group is populated to reflect the Contract or PO, if one is linked to this Invoice. If this is a non-linked invoice, or if you want, you can enter a new group or select one from the drop-down. The options available in the drop-down list come from the groups in the Budget.

7.   Optionally, you can mark this Invoice as the Final Invoice if this Invoice has been linked to a Contract or PO. Making a Final Invoice will close out all line items and release all retainage. It will also prevent any further invoices or PCOs or Change Orders from being created against the Contract or PO.


8.   Click in the fields to enter the From and To dates for the Pay Period.

Note: Invoices must be entered in chronological order. If you try to enter an earlier pay period than the previous invoice, you will receive an error letting you know that there is a problem with the pay period.

9.   Click the Select Payment To button to alter the payment to user or contact. (not common)

10. Click the Select Payment From button to add or alter the payment from user or contact. (not common)

11. Click in the field to add the Date Due.

12. Optionally, enter the Terms for this Invoice.

13. Retainage is originally set in the Contract. Then, if changes are made in previous Invoices, these changes carry over to the new Invoice. If necessary, you can alter the Retainage for all line items to be set to the same value by unmarking Keep default contract or previous invoice retainage by line item.

This will make the Retainage amounts become text boxes so that you can alter the amounts.


Once you save these changes, all line items will reflect the new Retainage amounts.

Note: Non-linked Invoices do not have Retainage.

14. Optionally, click Show to review the Payment Status and custom accounting field information.

Note: For Accounting Only section reflects any custom fields created by the Site Administrator and can have up to eight fields defined.


15. If you have Accounting rights, you can enter the necessary information into the Custom Accounting fields.


16. Click the Save button to keep this information or Save & Next to continue.


Non-Linked Invoices - Items Tab

If this invoice is not linked to a contract or PO, users can manually add items or can import items from an Excel template.


Manually Adding Invoice Items

To manually add an item to an invoice:

1.   Click the Items tab.


2.   Complete the following fields:

·         Item #: auto populates with the next sequential number

·         Budget/ Fund Code: Use the  Look up icon to search for a budget code, if needed.

·         WBS/ Spec Section: Use the  Look up icon to search for a WBS/ Section code, if needed.

·         Description

·         Quantity, UoM (Unit of Measure), and Unit Price: These fields only display for Unit Price POs.

·         Total Amount

3.   Click the Save button.

Note: To delete one or more line items, mark the check box(es) for one or more line items to be deleted. Then click the Delete button.


To change the Group, click Edit Group link.

To add more line items, click Add New Row link.

To add a new Group, click Add New Items Group link.


Importing Invoice Items

If there are multiple items to add to an invoice, a more time-efficient method is to import those items.


To import multiple items:

1.   Click the Import/Export link.


The Import/Export items pop-up displays.

2.   Click to Download blank MS Excel template.

3.   Save the template and add line item information.

4.   Click the Choose File or Browse… button to locate the template file.

Note: If you need to replace the current items in the Invoice, mark the check box for Delete all existing items.

5.   Click the Import button.


The items in the template will be listed in the Invoice items section.


Linked Invoices - Items Tab


If this invoice is linked to a Contract or PO, the line items from the linked Contract or PO will be listed under the items tab.

Note: Line items from the Contract or PO cannot be edited, nor can additional line items be added or imported.

To update the Items tab in a linked Invoice:

1.   Add the line item values for Work Completed and Materials Stored. If this is a Unit Price Invoice, enter the Quantity for each line item.

2.   Click the Save button to keep changes or Save & Next to continue.


Linking Invoice Line Items to the Budget

To create or alter a link between a line item in the invoice and a sub item in the Budget:

1.   Mark the check box for one or more line items in the Invoice.

2.   Click the Link to Budget button.

3.   Select the radial button for the action you wish to take.

4.   Additional fields will display depending on your selection. Enter the appropriate information.

5.   Click the Save button.


Attachments & Approvals

Once you have entered all information, you can upload attachments and begin the approval process.  Please refer to the Attachments Tab and Approval Process sections in this user guide.


Viewing Invoices Logs

To view the log page for the Invoice module, click the All Items link in the left-side menu.


The Invoice log page displays.


To view the different status groups of Invoices, click the different tabs at the top. For example: Pending, Approved, Rejected, or All.

To sort the log, click the column headings. Toggle between ascending or descending order, shown by the  arrow icon.

To remove an Invoice, mark the check box for the invoice. Then click the  Delete link.

To view the audit log for an Invoice, click the Audit  icon. The audit log pop-up displays.

To view the detail page of an Invoice for editing or processing, click the description link.

To locate a specific Invoice, enter any part of the number or description in the Search by Number or Description field.


Subcontract Invoice Process Scenarios