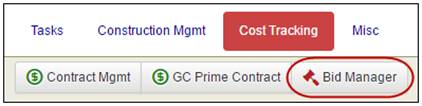
Bid Manager is an application
that lets you:
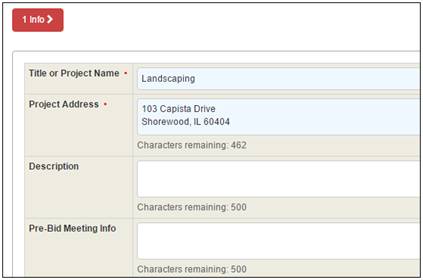
· Post
bids online to the Virtual Bids & Plan Room.
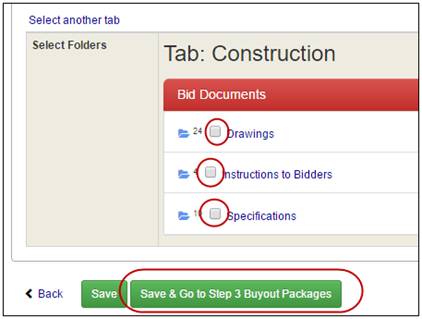
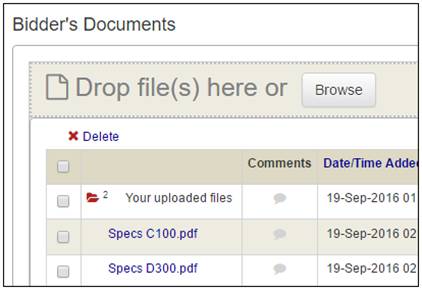
· Associate
bid drawings and files from Document Management with a bid.
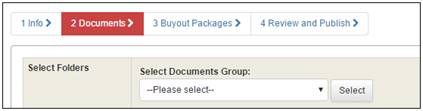
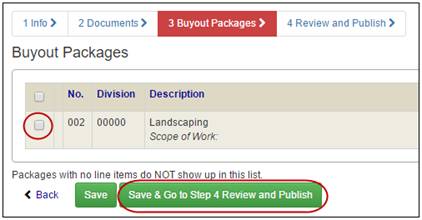
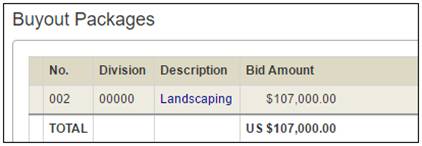
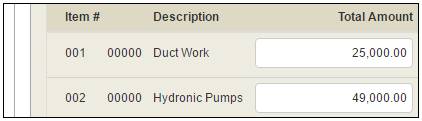
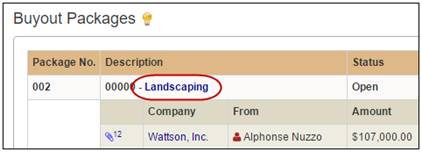
· Associate
one or more Bid Packages with a bid.
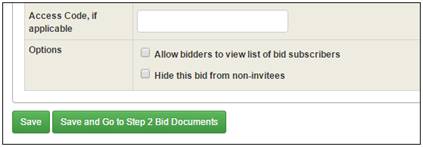
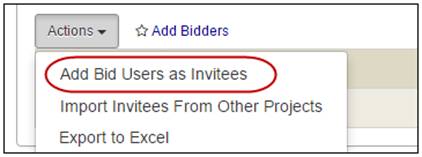
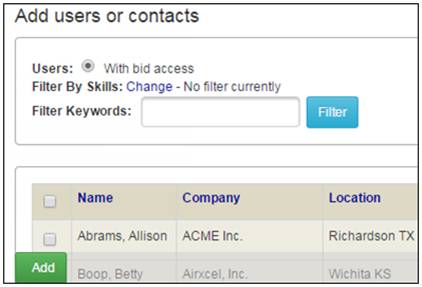
· Manage
a list of contractors or vendors to participate in the bid.
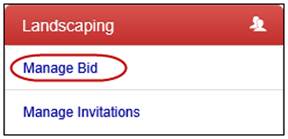
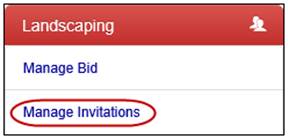
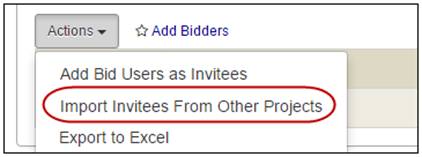
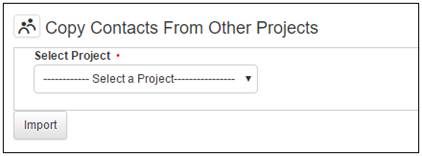
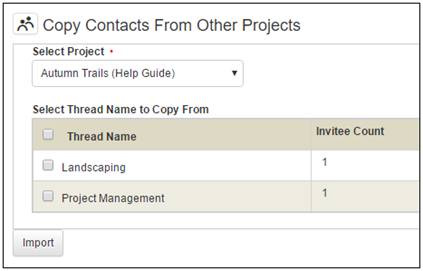
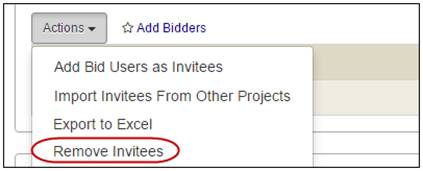
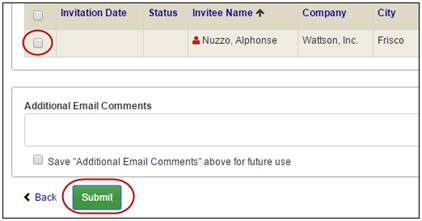
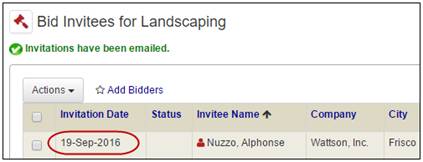
· Manage
invitations to the list of contractors or vendors.
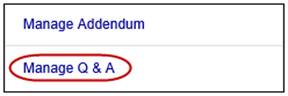
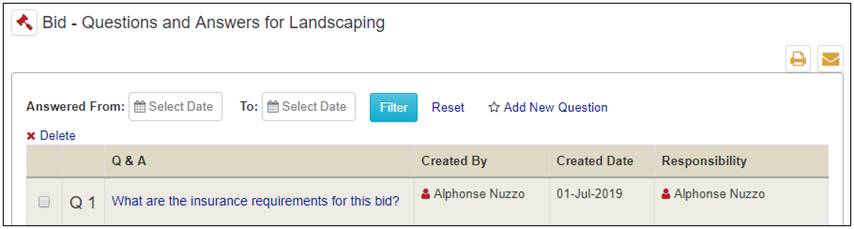
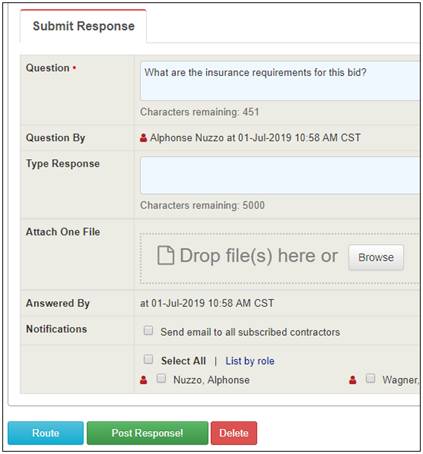
· Manage
Questions and Answers.
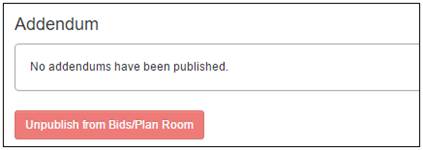
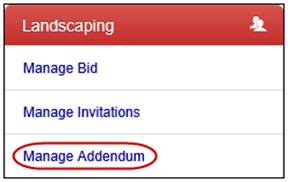
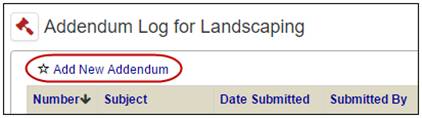
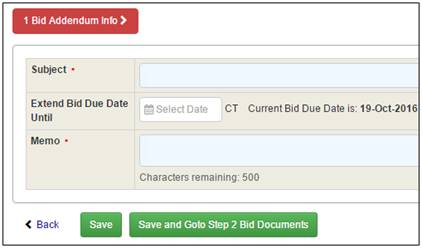
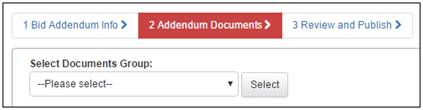
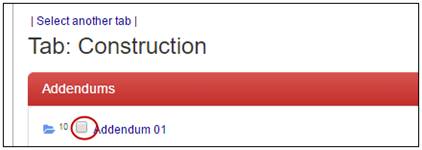
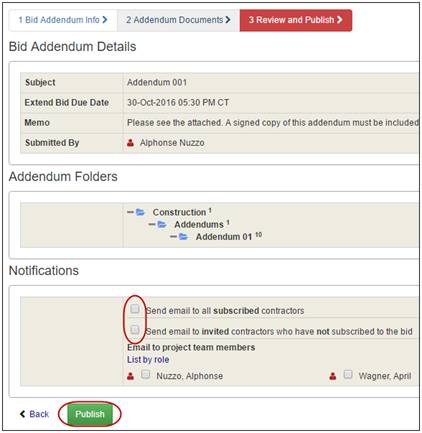
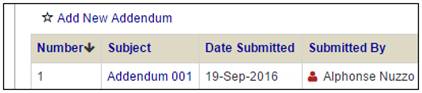
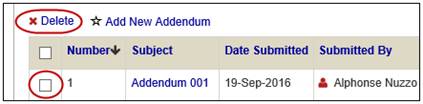
· Publish
Addenda.
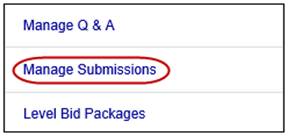
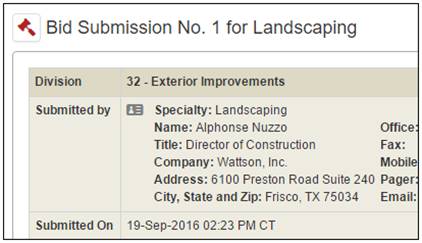
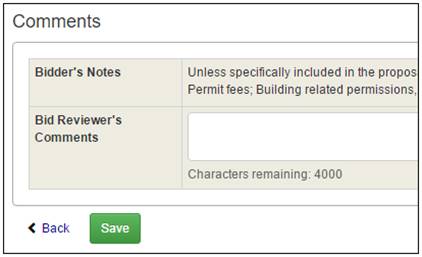
· Manage
submissions from the bid participants.
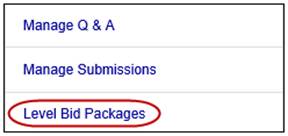
· Level
bid packages.
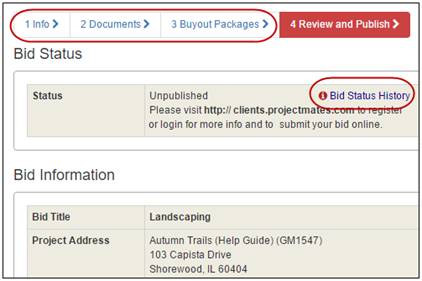
Using Projectmates Bid Manager / Virtual Bids
& Plan Room, you can effortlessly publish and manage bids
online. This tool allows you to publish projects for bid, include
bid document files for online viewing, manage addenda, answer
contractor questions, and receive electronic bids. You can also
create password protected, invitation only bids.
All published bids are available for viewing
to interested contractors and subcontractors on Projectmates'
Virtual Bids & Plan Room. Contractors can be supplied a Projectmates
login ID and password by the site administrator or can sign up
for the Virtual Bids & Plan Room through a separate sign-up
process. Contractors interested in keeping track of addenda and
Q&A responses can add published bids to their My Bids. My
Bids entitles bidders to receive email notifications on addenda,
Q&A responses, and bid awards.
Bid Management Services is a multi-threaded
tool. In other words, multiple independent bids can be created
and published. For example, in a two-phased project, two separate
bid packages can be created for phase 1 and phase 2. |