Projectmates University offers several training videos to help on-board new users.
To access the Budget training video, look
for the ![]() Video
icon.
Video
icon.
25. Finance & Budget
Projectmates Budget module lets you track the project budget items, manage budget revisions, actual costs, line item profit/loss, etc. You can arrange budget items into custom defined groups. You can view the budget summary by groups, divisions, and line items. You can also export budget information to Microsoft Excel.
Please refer to Project Setup and Administration to setup user rights for the Budget Applications. The Budget Applications module will not be shown until the initial setup is complete. |
Watch the Budget Training Video
Projectmates University offers several training videos to help on-board new users. To access the Budget training video, look
for the |

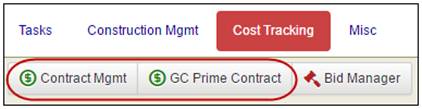
To access the Budget module, click either the Contract Mgmt or the GC Prime Contract buttons under the Cost Tracking tab. |
|
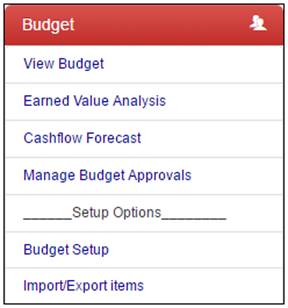
Then click the Budget thread name in the left-side menu to extend the links below.
Each link takes the user to a different aspect of the Budget module.
If you do not see some of the links displayed in the image to the right, you may need to contact your Project Administrator regarding access rights in this budget thread. |
|
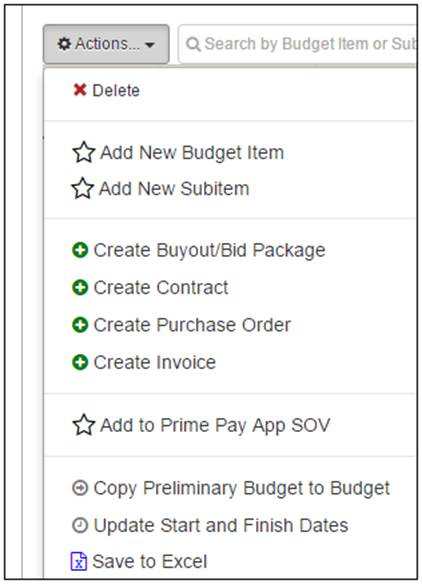
Budget Log page options
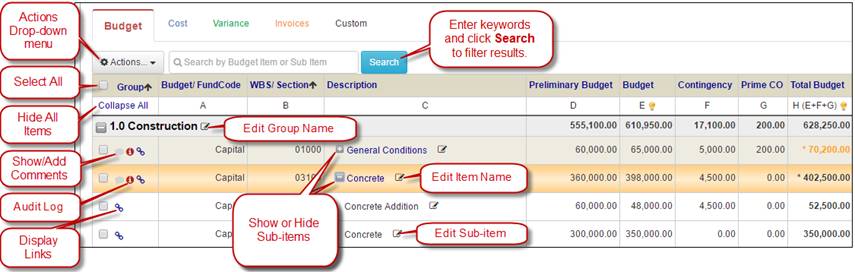
In the Actions Drop-Down, you will find several action links: 1. 2. 3. 4. 5. 6. 7. 8. 9. 10. 11. |
|
The Budget tab shows the Total amount (H) allocated to each individual Line Item in the project. It is the sum of the Primary Budget amount (E), Contingency amount (F) and Income from Prime Change Orders (G). |

Preliminary Budget (D): Early Estimates, not used in any calculations. Budget (E): Primary Budget Amount Contingency (F): Other Budget Items Approved Prime CO (G): Income from Prime Change Order Total Budget (H): Total Budget (E + F + G) |
The Cost tab shows the actual costs incurred on each Line Item in the project. The Total Cost is the sum of Contracts, Purchase Orders and Approved Change Orders. The Anticipated Cost is the sum of Contracts, Purchase Orders, Approved Change Orders and Pending Change Orders. |

Commitments (I): Committed Costs, Contracts and Purchase Orders Approved CO (J): Approved Change Orders Total Cost (K): Total Committed Costs (I + J) Pending CO (L): Pending Change Orders Anticipated Cost (M): Total Anticipated Costs (I + J + L) Cost Per SqFt (N): Cost per SqFt based on Total SqFt entered in the Budget Setup |
The Variance tab shows the difference between the budgeted cost and the actual cost incurred. It indicates whether the actual cost of a line item came under budget or exceeded the budget. |

Total Budget (H): Total Budget (E + F+ G) Total Cost (K): Total Committed Costs (I + J) Actual Over/Under (O): Total Budget minus Total Committed Costs (H – K) Anticipated Cost (M): Total Anticipated Costs (I + J + L) Anticipated Profit-Loss (P): Total Budget minus Total Anticipated Costs (H – M) Subcontract Invoices (S): These values can be entered manually or sent from Invoices |
The Invoice tab shows the amount that was billed for each Line Item. |
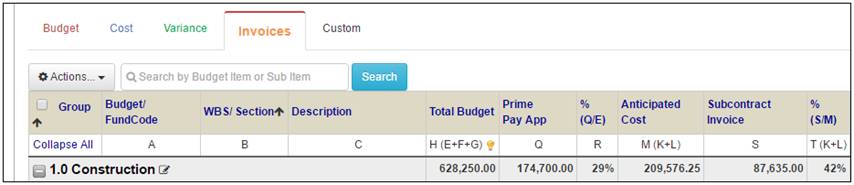
Total Budget (H): Total Budget (E + F +G) Prime Pay App (Q): Total Approved Pay Applications % (Q/E) (R): Percentage of Pay Apps out of Primary Budget Anticipated Cost (M): Total Anticipated Costs (I + J + L) Invoices (Actuals) (S): These values can be entered manually or sent from Invoices % (S/M) (T): Percentage of Invoices out of total Anticipated Costs (K + L) |
Up to 6 customized budget columns can be added from budget setup. These columns can contain formulas. If formulas are used, the values cannot be edited by the user. If formulas are not used, users can enter values in the budget sub items edit pop-up. |
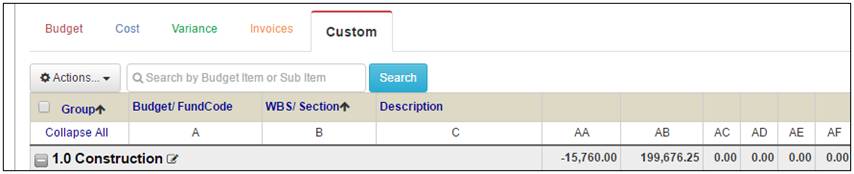
Calculated Custom Columns (AA – AF): The formula for custom columns can be entered in the Budget Setup. |
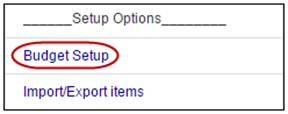
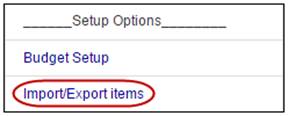
To setup the Budget: 1. Click the Budget Setup link under Setup Options in the left-side menu.
The Budget Setup Screen will display. |
|
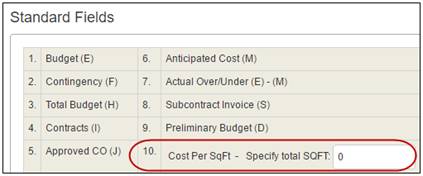
2. For Cost Per SqFt to be displayed, enter the total amount of Sq. Ft.
Note: The numbers beside the Standard Fields are the numbers to use when building custom formulas in the Custom Fields section below. Example: {1} is used for Budget (E). |
|
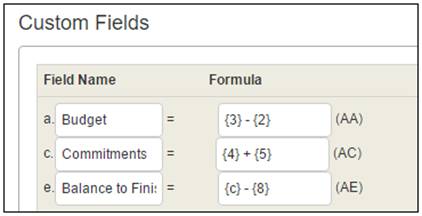
3. Enter a description for up to 6 custom columns. 4. If a formula will be used to calculate the values, enter the formula. You can reference other Budget columns in the formula by enclosing the column number in { }. Note: If a formula is entered, users will not be able to edit the amounts. Leave the formula blank to permit manually entering values. |
|
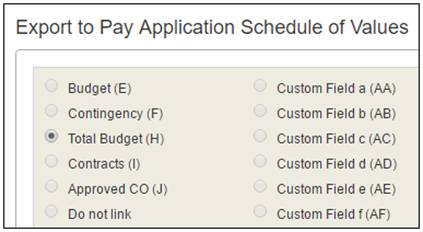
5. Select the column that should be exported to the Pay Application Schedule of Values.
Note: Changes cannot be made to this value once one or more line items have been exported. |
|
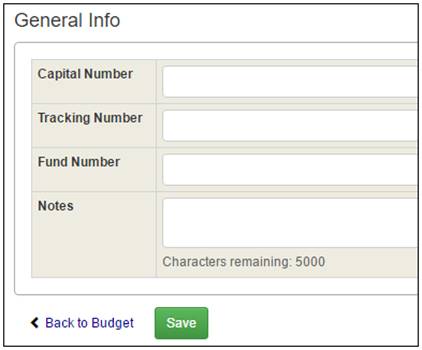
6. Enter any other General Information about the Budget. 7. Click the Save button. |
|
Adding a New Line Item in the Budget
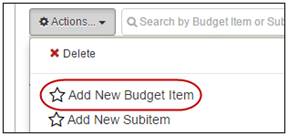
To add a new line item in the budget: 1. Click the Add new Budget item link in the Actions… drop-down menu. |
|
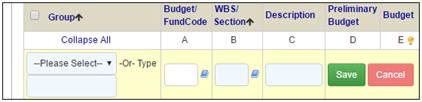
2. Select a Group from the drop-down list or enter a new group. 3. Optionally, enter the Budget/Fund Code information. 4. Enter the WBS Section and Description. 5. Click the Save button. |
|
Adding a New Sub-Item in the Budget
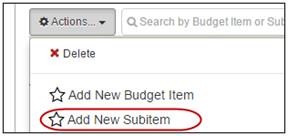
To add a new sub-item in the budget: 1. Mark the check box of a parent line item. |
|
2. Click the Add New Sub-item link from the Action drop-down menu. |
|
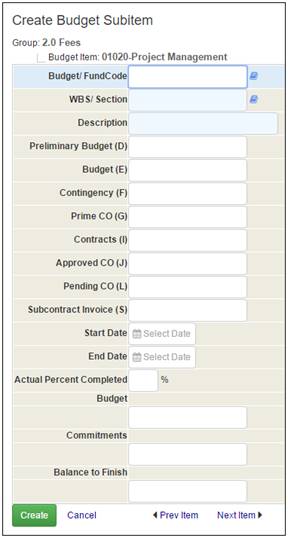
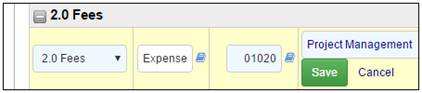
The Create Budget Sub-item pop-up screen displays.
3. Optionally, enter a Budget/Fund Code. 4. Enter the WBS/Section information. 5. Enter the Description of the sub-item. 6. Optionally, enter
values for the accounting fields. 7. Click the Create button. |
|
Import/Export Line Items from Excel
To import or export line items from Excel into the Budget, click the Import/Export items link from the left-side menu.
The Import/Export Entries for Budget screen will display. |
|
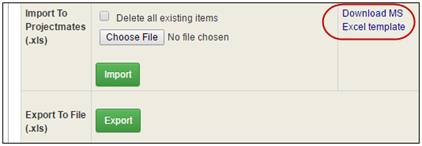
Importing Line Items from Excel
To import line items from Excel: 1. Click the Download MS Excel template link. 2. Update the template file and save it to your computer. |
|
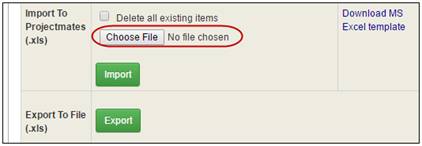
3. In Projectmates, click the Browse… or Choose File button to select the template file you created. |
|
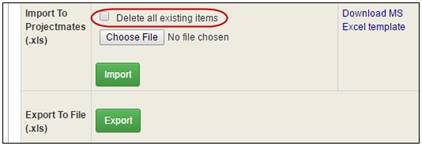
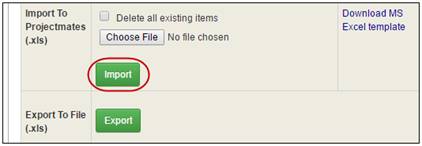
4. Optionally, mark the check box for Delete all existing items. Alternatively, to keep all existing items, DO NOT mark the check box.
Note: Deleting existing items will remove links to any items from other modules, including Bids, Contracts, Purchase Orders, and Invoices. |
|
5. Click the Import button.
Values from the spreadsheet will be imported to the budget.
Note: Contingency Line items need to be created manually. Do NOT import Contingency Line items through spreadsheet file. |
|
To update existing line items in Excel: 1. Export existing items by clicking the Export button. 2. Make any necessary changes to the Excel spreadsheet. 3. Follow the instructions above to import the file, without marking the check box for Delete all existing items. |
|
Note: Only the first budget column and custom columns can be updated. Custom columns will only be updated if there is no formula associated with that column in the Budget Setup. |
View/Edit Budget Line Items
Editing a Line Item in the Budget
To edit a line item in the budget: 1. Click View Budget link in the left-side menu.
The Budget log page will display. |
|
2. Click
the |
|
3. Make any necessary changes to Group, Budget Code, Section, or Description. 4. Click the Save button. Note: Values can only be entered at the sub-item level. |
|
Editing a Sub-Item in the Budget:
1. Click View Budget link in the left-side menu. |
|
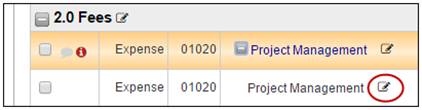
2. Click the line item link to display the sub-items that you want to update.
The sub-items under the line item will display. |
|
3. Click the
The Edit Budget Sub-item pop-up will display. |
|
4. Update any of the fields as necessary. 5. Click the Save button. Note: Only numbers are permitted in value fields.
To move the budget sub-item to another location within the same budget: 1. Click the Change link. The "New Budget Item" field will display. 2. Begin entering the description of the New Budget Item. Available line items from the current group as well as from other groups within this budget will be listed. 3. Select the appropriate new line item to move this sub-item and click the green Select button. 4. Hit Save to keep this change. |
|
You can view the history
of each line item through the audit log. To view the audit log,
click the |
|
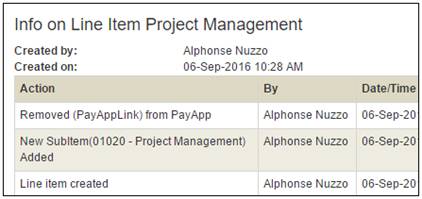
The Info on Line Item pop-up screen displays.
Every action taken, for example: adding, editing, or deleting data is recorded in the audit log.
The audit log displays the action, who performed the action, and the date and time of the action.
Note: The Project Administrator can restrict the users who can view audit logs. If you cannot see the audit icon, you may not have rights to view the audit log. |
|