Projectmates University offers several training videos to help on-board new users.
To access the Daily Field Reports training
video, look for the ![]() Video icon.
Video icon.
20. Construction Workflow - Daily Field Reports (DFR)
Daily Field Reports are used by contractors, supervisors, and consultants to record field activities. Multiple threads of DFRs can be setup by the Project Administrator. You will only see the threads that you have been granted access to.
Please refer to Project Setup and Administration to setup user rights for the Daily Field Reports application. The DFR module will not be shown until the initial setup is complete. |
Watch the Daily Field Reports Training Video
Projectmates University offers several training videos to help on-board new users. To access the Daily Field Reports training
video, look for the |

To access the Daily Field Report module, click the Daily Field Report button under the Construction Mgmt tab.
The Daily Field Report left side menu displays. |
|
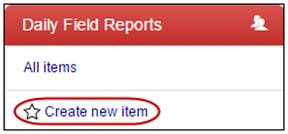
To create a new Daily Field Report: 1. Click the
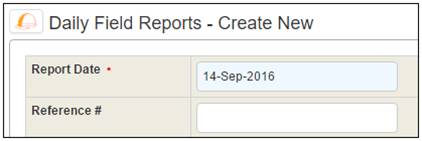
The Daily Field Reports - Create New screen displays. |
|
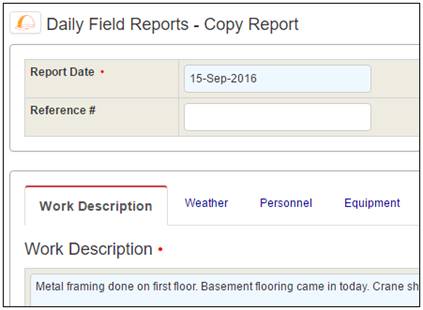
2. Enter the Report Date. 3. Optionally, enter a Reference Number. |
|
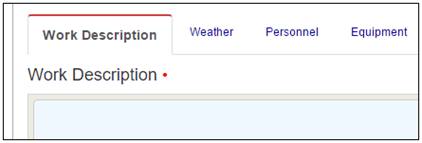
4. On the Work Description tab, enter the Work Description. |
|
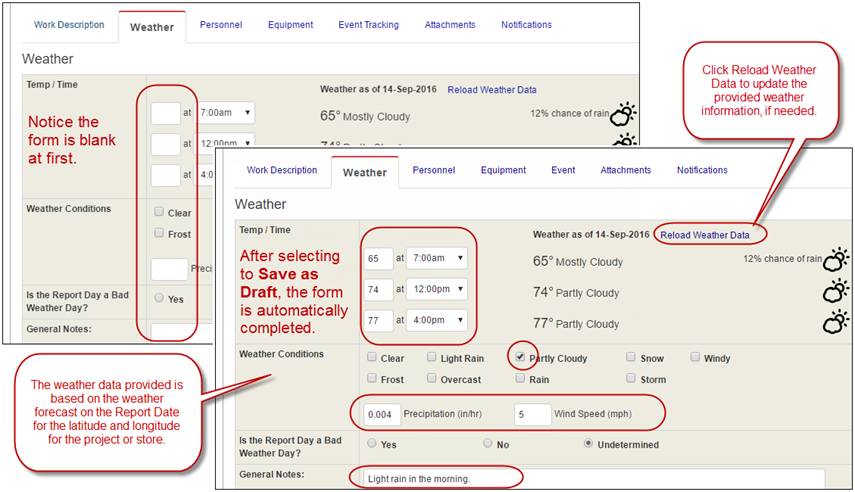
5. On the Weather tab, you can record and track weather information. If the latitude and longitude are entered in the Project Info or Store Info page, then weather information is provided for you. Click Save as Draft to copy the provided weather details into the appropriate fields. |
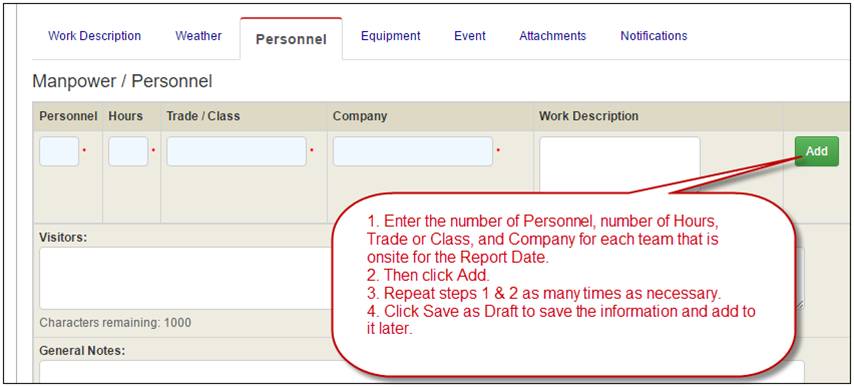
6. On the Personnel tab, you can record the number of crew members and the number of hours worked for each company as well as what they did. |
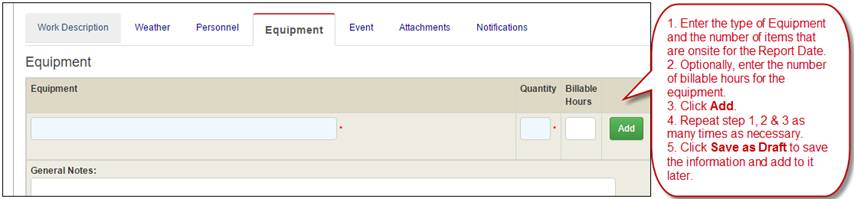
7. On the Equipment tab, you can record any equipment that was used on site. |
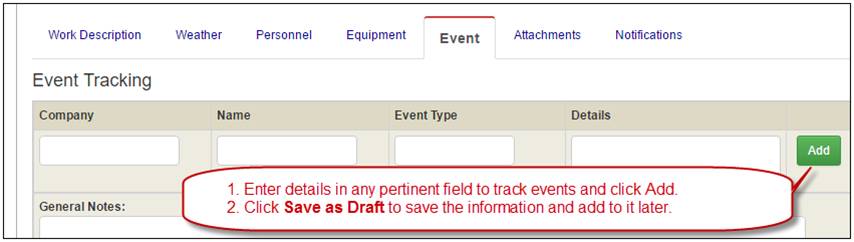
8. The Event Tracking tab is where you would record any details about anything that happened on site. Examples include: Accidents, Inspections, Surveys, etc. |
9. Use the Attachments tab to add any files or pictures. You can attach documents by clicking Browse to open a selection window or drag and drop files. Also, you can link the documents from the Document Management module. Note: Learn more about this in the Copying or Linking Documents section. |
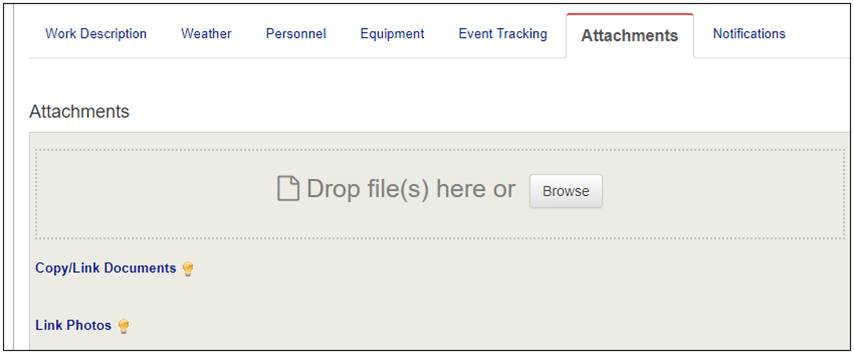
If you are adding a lot of photos to the report, it is a best practice to actually upload them in the Photo Album and link the Photo Album to the report. To link the photos to the report: |
A. Click Link Photos link on the Attachments tab from within the Report you are creating. The Link to Module pop-up will display. |
B. Select the Photo Album thread from the Select Thread drop-down. |
C. Select the Album name from the Select Album drop-down. |
D. Click the Link button to complete the link. |
Now you can click the link that was created to view the Photo Album that was linked. |
Note: It is okay to upload the photos after this link is created.
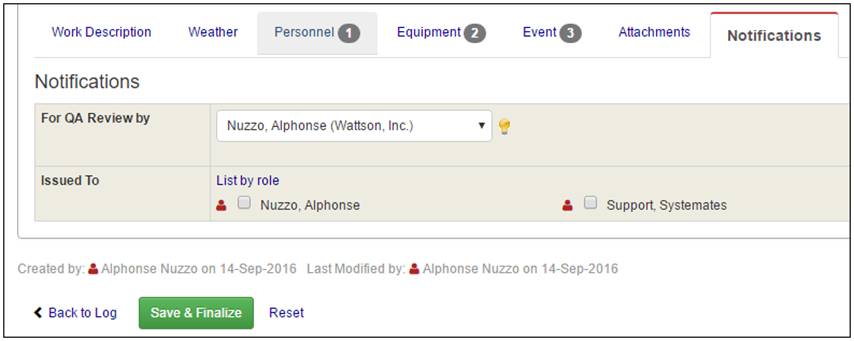
10. The Notifications tab allows you to designate any users to receive email notification when your report is finalized. |
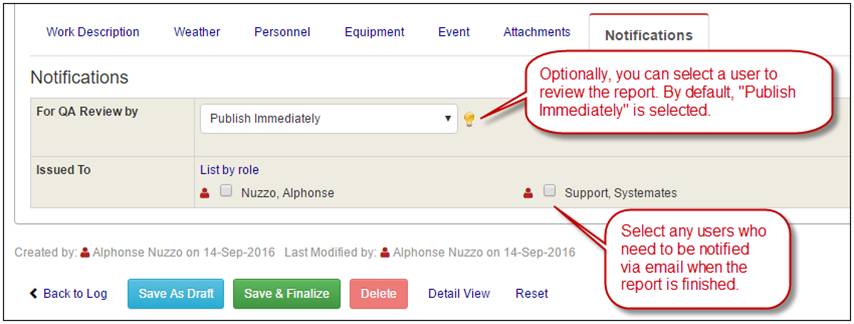
11. Click the Save As Draft button to finish later or the Save & Finalize button to complete the report and send email notifications. |
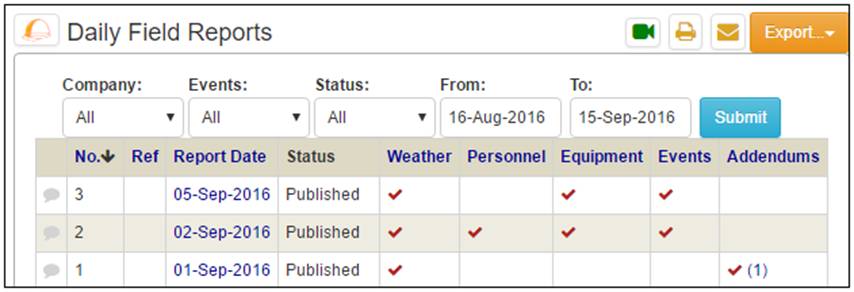
To view the Daily Field Report log: 1. Click the All items link in the left-side menu.
The Daily Field Report log displays. |
|
2. You can quickly view if Weather, Personnel, Equipment, Events or Addenda are included in reports. 3. Filter the list of DFRs by selecting a Company, an Event, a Status, and/or a date range. |
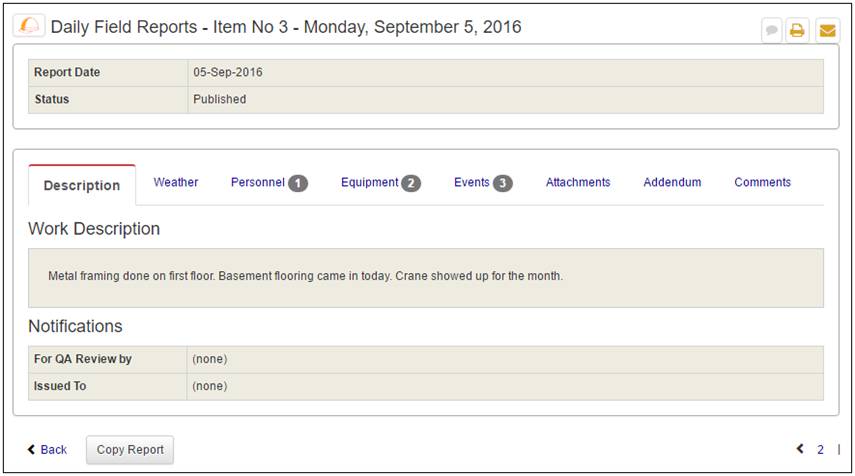
To view the Daily Field Report details, click the Report Date link from the log page. |
|
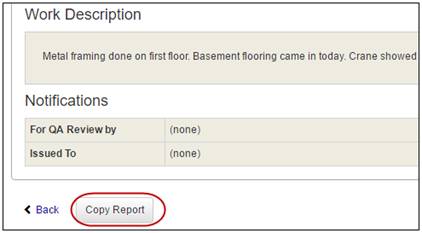
The Daily Field Report Detail page displays. · To view information stored under the different tabs, simply click on those tabs. · To remove this Report, click the Delete button. Only Administrators have access to delete reports. · To view another Report, click the forward or backward buttons. · To create a new Report with the same information as the selected report, click Copy Report. |
To edit a Daily Field Report: 1. Click the Publish link from the log page. |
|
2. Use the tabs to verify and/or make changes as necessary. 3. Once the report is correct, change the For QA Review by drop-down to Publish Immediately. 4. Click Save & Finalize button to publish the report. |
Add an Addendum to Published DFR
A Daily Field Report cannot be edited after it is published. However, you may attach an addendum if additional information or clarifications need to be published.
|
To add an Addendum to a published Daily Field Report: 1. Click the Addenda tab from the details page. 2. Click the New Addendum button. |
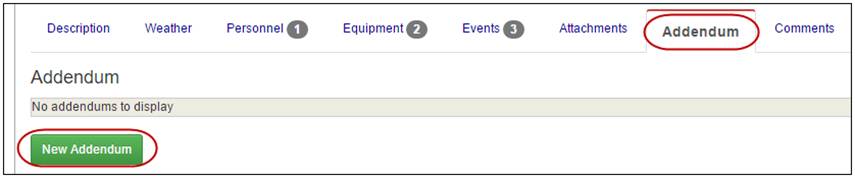
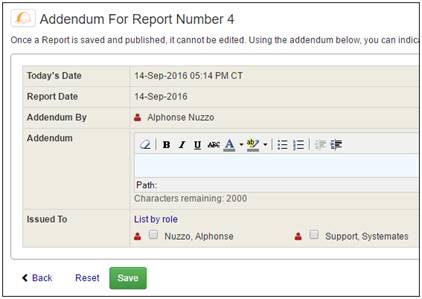
The Addendum screen displays.
3. Enter the additional information or clarifications needed in the text area provided. 4. Select users to be notified. 5. Click the Save button.
The DFR will be appended with the addendum. |
|
Prepare New DFR Based on an Existing DFR
To create a new Daily Field Report based on an existing one: 1. Click the Copy Report button at the bottom of the details page of the existing Daily Field Report. |
|
A new Daily Field Report with the same information as the existing report displays. 2. Update the information in the new report. 3. Click the Save As Draft button to finalize later or click the Save & Finalize button to finish now. |
|