16. Construction Workflow - Request for Information
Projectmates University offers several training videos to help on-board new users. To access the RFIs training video, look for
the |

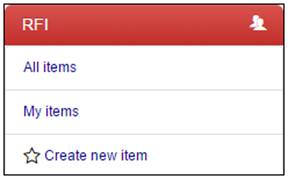
RFI threads and the menu for each thread are presented in the left-side menu. Click the menu item to view a list of RFIs or to create a new RFI. Note: You will not see a menu item if your administrator has not given you the access rights to do that task. Please refer to Project Setup and Administration to setup user rights for the Request for Information application. The RFI module will not be shown until the initial setup is complete. |
|
Once an RFI is created, the designated RFI recipient will receive an email notification. If the RFI is not responded to in a timely fashion, the system will generate an email to the responsible party, notifying them of the outstanding overdue status.
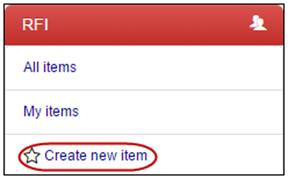
To create a new RFI: 1. Click the Create new item link in the left-side menu.
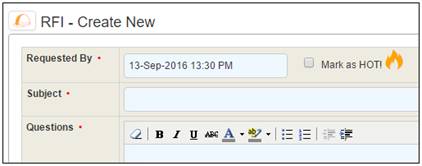
The RFI - Create New screen is displayed. |
|
2. The Requested By date is prefilled for you; however, you may change it if necessary. 3. Enter the Subject line and your Questions in the appropriate fields. 4. Optionally, you can mark the check box to make this RFI a HOT! item. |
|
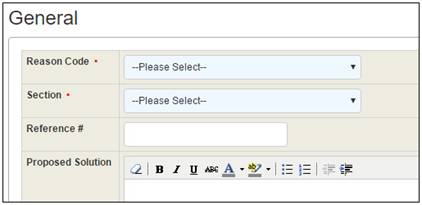
5. Use the drop-down menus to select a Reason Code and a Section. 6. Optionally, you can enter a Reference Number and/or a Proposed Solution. |
|
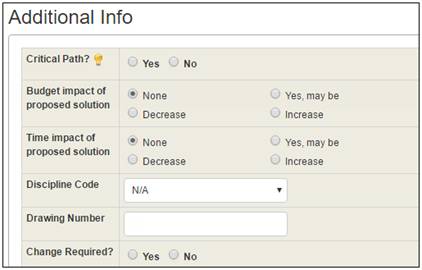
7. The additional information section allows you to record more details about the situation; for instance: Effect on Critical Path, Budget or Time impacts, and Drawing codes. |
|
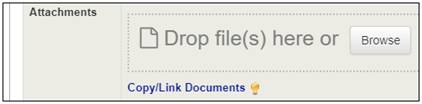
8. You can attach files by clicking to open a selection window or drag and drop the files. |
|
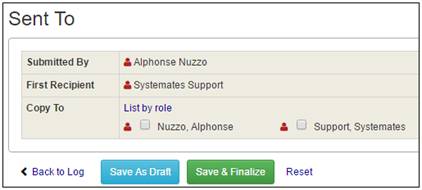
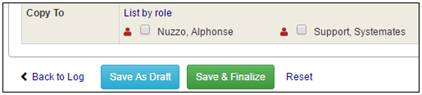
9. Choose the names in the Copy To field if you wish for them to receive an email notification regarding this new RFI. 10. Click the Save as Draft button to finalize later or click Save & Finalize to send.
A new number will be assigned to the RFI and recipients will be notified via email. |
|
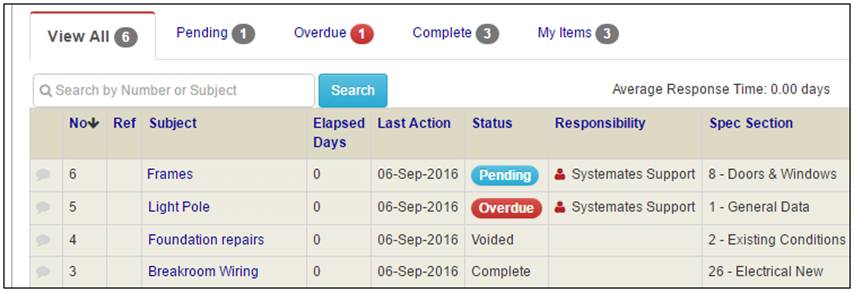
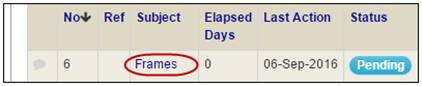
By default, the RFIs are listed by number with the latest on the top. You can also sort the list by clicking the column headers.
|
Each RFI log page view displays 10 RFI entries at a time.
|
Click the navigation arrows
|
Enter any part of the number or subject of a particular RFI in the Search by Number or Subject field to locate it.
|
RFI statistics are displayed in the corresponding tabs. |
To open the RFI log, select
a view from the RFI left-side menu, such as All
items. Locate the RFI you wish to view and click the subject.
The RFI detail page is displayed. If the RFI has an attachment,
you will see a paperclip
|
If you wish to print an RFI,
select |
Email Notifications for New / Overdue RFI
Once a new RFI is submitted, Projectmates will notify the selected users about the new RFI by email. Projectmates also checks the logs for the RFIs that are overdue. A friendly email reminder is automatically sent to the users who are responsible to respond to an overdue RFI. |
You may delegate or assign the RFI to another user on the project by routing the RFI.
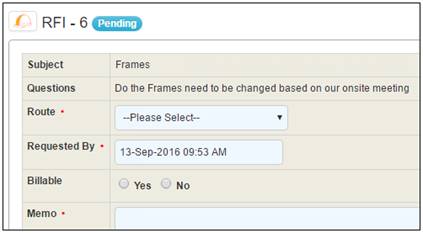
To route an RFI to another user: 1. Open the RFI detail page by clicking the name of the RFI from the log screen. |
|
2. Below the RFI details, click the Route button.
The Route RFI screen is displayed. |
|
3. Use the drop-down list to select a user to whom to route this RFI. 4. Optionally, change the Requested By date and time. 5. Optionally, mark if the RFI is Billable. 6. Enter a Memo to the user. |
|
7. You can attach files by either clicking to open a document selection window or drag-and-drop files. |
|
8. Optionally, select additional recipients to receive a copy of the routed RFI notification. 9. Click the Save button. |
|
Projectmates sends an email to notify the user about the routed RFI. The RFI History is updated with the routing information in the new tab labeled Routing (1). |
|
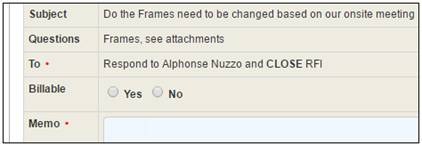
To close an RFI: 1. In the RFI Detail page, click the Close button located at the bottom of the RFI details. |
|
The Close RFI screen displays.
2. Optionally, mark if the RFI is Billable. 3. Enter a Memo to the user. |
|
4. You can attach files by clicking to open a selection window or drag and drop the files. |
|
5. Optionally, select additional recipients to receive a copy of the closed RFI notification. 6. Click the Save as Draft button to finalize later or click Save & Finalize to send. |
|
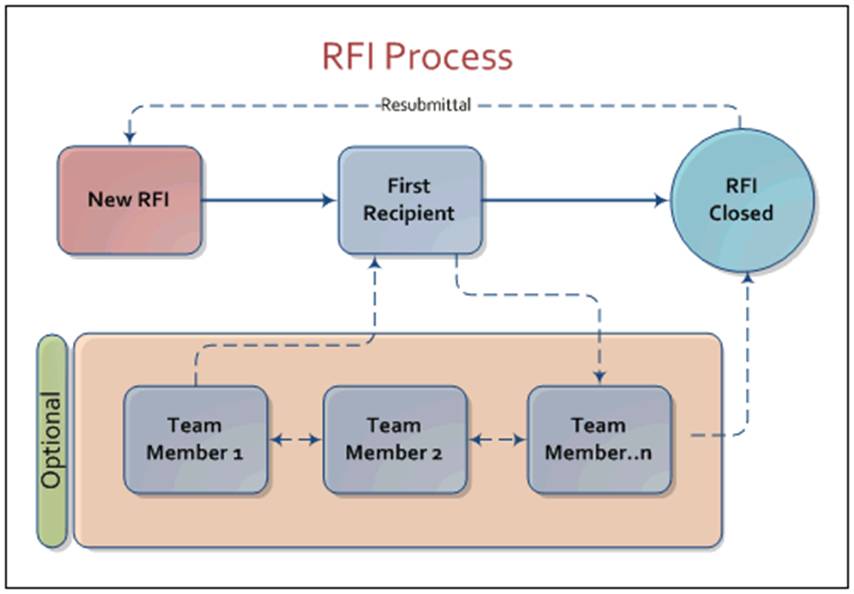
If an RFI needs to be re-opened, you can do that by utilizing the Resubmit function. All information from the original RFI will be copied to a new RFI, and a new number will be assigned. |
To resubmit an RFI: 1. At the bottom of the RFI Detail page, click the Resubmit button. |
|
A new RFI is created with details copied from the original RFI.
2. Make any necessary changes to the information fields. |
|
3. Click the Save as Draft button to finalize later or click Save & Finalize to send.
Once the new RFI is finalized, recipients will be notified via email. |
|
If you created a new RFI in error, you can void the RFI by clicking on Void button at the bottom of the RFI details page. The status of the RFI will be changed to Voided. Note: Users must have at least Co-Admin access to be able to void or delete RFIs. |