13. Work Orders
Introduction to Work Orders
Projectmates' Work Order module makes facility maintenance easy. Using the work order module's built-in features, you can track each work order from the moment it is submitted.
Before you can begin to use the Work Order module, your Project Admin needs to configure the work order thread. He or she is responsible for setting up default preferences and granting the appropriate rights to specific user roles. The Work Order module is multi-threaded, which means you can create as many different instances of the module as needed with varying rights and configuration. For example, you can create a work order thread by facility, such as East Central Tower or specific purpose, such as minor maintenance, major maintenance, etc.
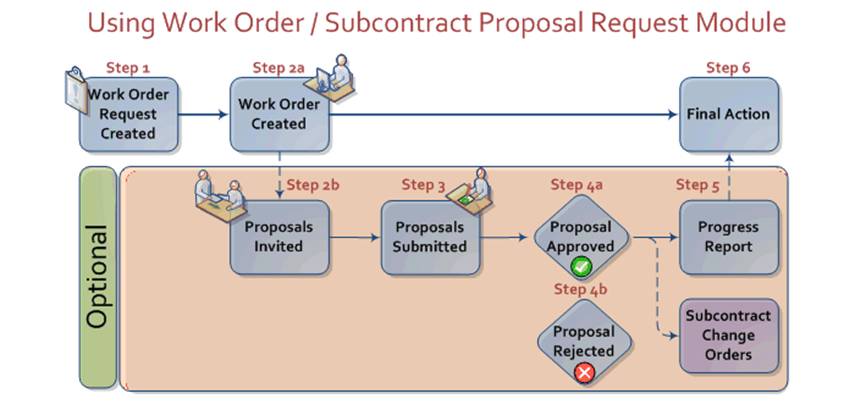
There are between 3 and 6 steps when completing work orders. The diagram below shows steps 1, 2a, and 6 are required, while steps 2b through 5 are optional. Project Administrators can configure these optional steps, depending on your company's unique needs. Steps 2b through 4 are designed to give you the option of getting cost proposals before actual work is performed. Step 5 is designed to provide you with a progress report. Adding an approval step can also be configured. |
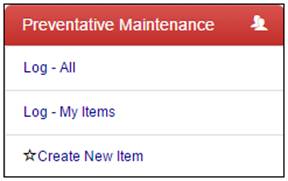
To view the Work Order log, click the thread name in the left-side menu to extend the options below it.
There are a couple different log views to choose from: Log - All – Complete list of Work Orders Log - My Items – Your Work Orders
You may select either of the log choices. |
|
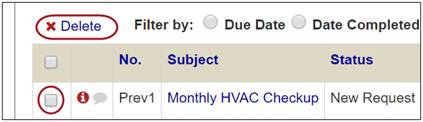
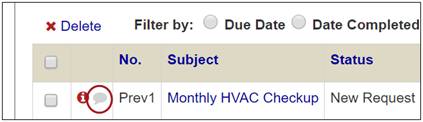
To completely remove any work order from Projectmates: 1. Mark the check box for the work order to be deleted. 2. Click the Delete link. |
|
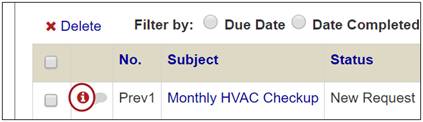
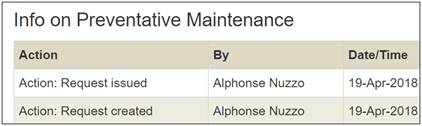
To view the history log of
a work order, click the |
|
A log of all actions taken with regard to the work order will display. |
|
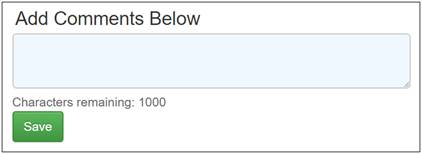
To add comments or to view comments previously added:
1. Click the Comment |
|
2. Enter any comments that are needed. 3. Click the Save button.
Scroll down to see comments left by other users. |
|
To view the details of an existing work order, click the subject of the work order. |
|
The details of the work order will be displayed. |
|
Step 1: Create a New Work Order Request
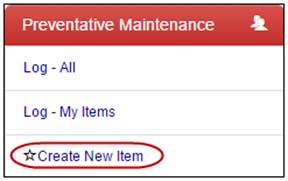
To create a new work order, first you need to create a work order request: 1. Click the Create New Item link in the left-side menu.
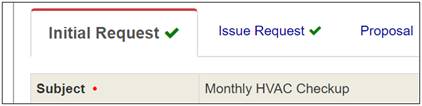
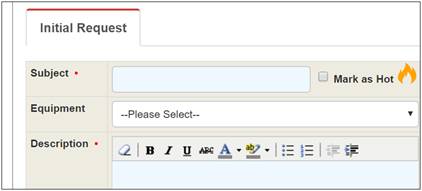
The Initial Request form will display. |
|
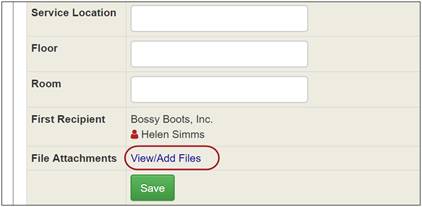
2. Complete all required fields and any optional fields as necessary. 3. Click the Save button. Note: You must save the initial request prior to attaching files. |
|
4. To attach files if needed, click the View/Add Files link. |
|
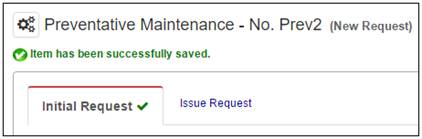
5. Notice that the Issue Request tab is now available. |
|
Step 2a: Create a New Work Order
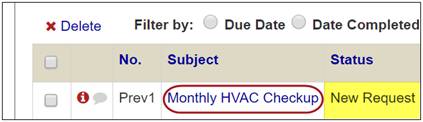
To create a new work order: 1. Click the subject of an existing work order request from the work order log page. Note: Work Order Requests are indicated as New Request in the Status column of the log page. |
|
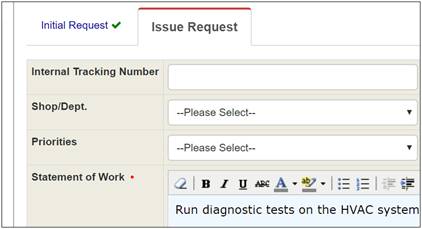
2. On the Issue Request tab, complete all required fields and any optional fields as apply to this work order.
· Internal Tracking Number, Shop/Dept., and Priorities fields are optional. · Enter the Statement of Work. |
|
· To be started by is an optional field. · Select a date for To be completed by field and a Reason Code. |
|
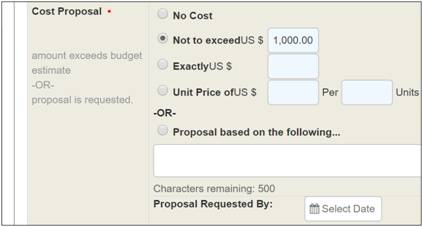
· Select the appropriate radial button for the Cost Proposal. Note: The Reason Code and Cost Proposal sections are configured by the Project Administrator, who can choose to hide these features in the setup options. |
|
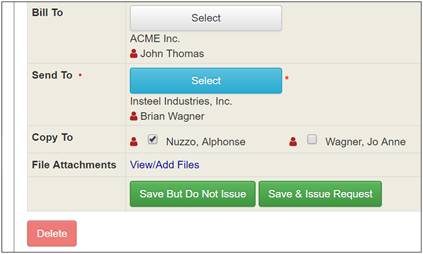
· To change the Bill To or Send To information, click the Select buttons and follow the prompts in the pop-up. · Mark the check boxes for users who need to be copied on the work order.
3. Click the Save But Do Not Issue button. 4. To add files to this work order, click the View/Add Files link. 5. To finalize the work order, click the Save & Issue Request button. |
|
Note: After the work order is issued, you will not be able to edit this section.
Step 2b: Request a Proposal (Optional Section)
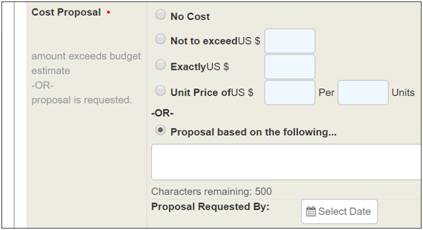
To request a proposal: 1. Select the Proposal based on the following… option for the Cost Proposal section in the Issue Request tab. 2. Enter the information on which to base the proposal in the text area provided. 3. When you finalize the work order, emails will be sent to those parties approved to respond to the proposal request. |
|
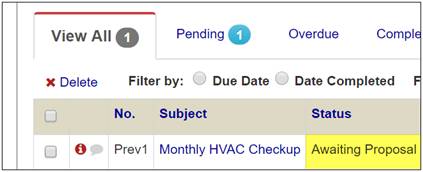
If you return to the log page, and it shows the current status of the work order to be Awaiting Proposal, then you will know the proposal has been requested properly. |
|
Step 3: Proposals Submitted (Optional Section)
When a proposal is requested, an email notification is sent by Projectmates to the appointed vendors for a proposal. The vendor can then log into Projectmates to submit his or her proposal. |
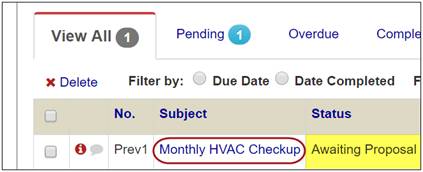
To submit a proposal for a work order: 1. Click the subject of the work order that is Awaiting Proposal. |
|
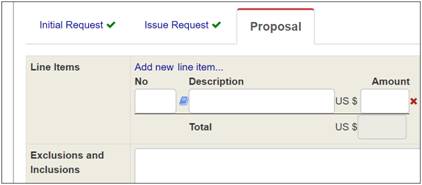
2. On the Proposal tab, enter the line item information.
· To add more line items, click the Add new line item… link. · To
remove a line item, click the Delete
3. Enter any exclusions or inclusions in the text area provided. |
|
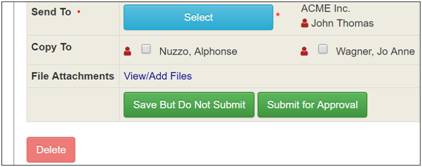
4. To change the Send To information, click the Select button. 5. Mark the check boxes for users to be copied. 6. Click the Save But Do Not Submit button. 7. Click the View/Add Files link to attach any documentation. 8. Click the Submit for Approval button to send your proposal. |
|
Note: Once the proposal is submitted for approval, it cannot be edited, unless the proposal is rejected.
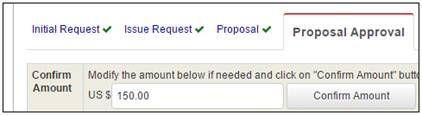
Step 4a: Confirm/Approve Proposed Amount (Optional Section)
If a proposal has been submitted, a confirmation of the proposed amount is required. This can be done simply by clicking the Confirm button. |
To confirm the proposed amount: 1. If necessary, edit the amount. 2. Click the Confirm Amount button. |
|
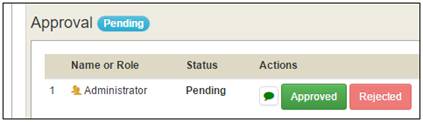
To approve a proposed amount: 1. Optionally, click
the 2. Click Approved or Rejected. |
|
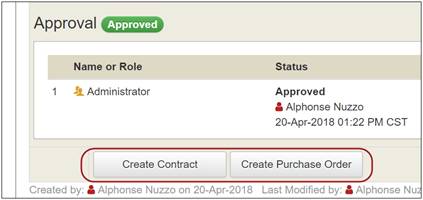
Upon approval of this proposal, you will have the option to create a contract or purchase order based on the line items from the proposal.
To create a contract or a purchase order, click the appropriate button. |
|
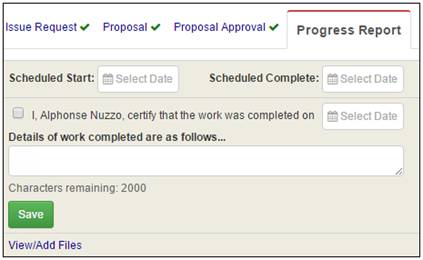
Step 5 (Optional Section): Completion and Progress Report
1. To certify the work as complete, mark the check box next to your name and add the completion date. 2. Enter any details in the text area provided. 3. Click the Save button. 4. Click the View/Add Files link to add Attachments. Note: Save before adding attachments. |
|
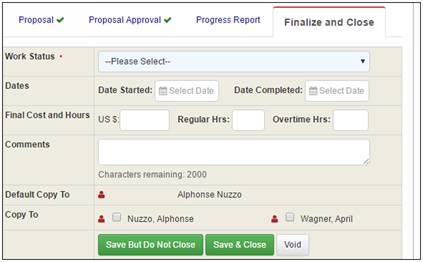
To finalize a work order: 1. Select a Work Status from the drop-down menu. 2. Enter the Date Started and Date Completed. 3. Enter the Final Cost and Hours information. 4. Add any necessary comments. 5. Select users to be copied in an email regarding the closed work order. 6. Click the Save But Do Not Close button to save your entries as a draft. 7. Click the Save & Close button to complete the work order.
Note: Once a work order is closed, it can no longer be edited. |
|
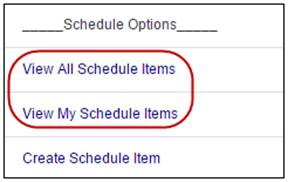
To view a list of schedule items, click either the View All Schedule Items link or the View My Schedule Items link in the left-side menu.
The Work Order Schedule log appears. |
|

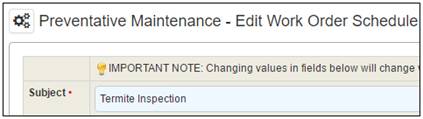
To change a schedule item: 1. Click the Edit link for the scheduled item.
The Edit Work Order Schedule screen displays. |
|
2. Edit the necessary fields. 3. Click the Save button. |
|
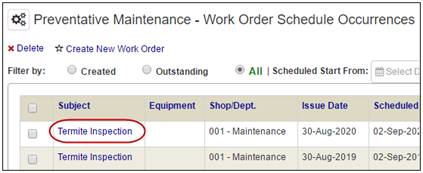
To see a list of occurrences of the schedule items, click the View Occurrences link for the Schedule item.
The Work Order Schedule Occurrences log displays. |
|
To edit an individual occurrence: 1. Click the subject of the occurrence.
The Edit Work Order Schedule Occurrence Details screen displays. |
|
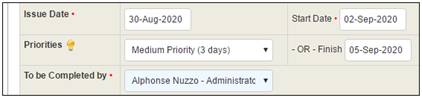
2. Edit the necessary information. 3. Click the Save button. Note: Only the Issue Date, Start Date, Priority/Finish Date, and the User To be Completed by can be edited on an individual schedule occurrence. |
|
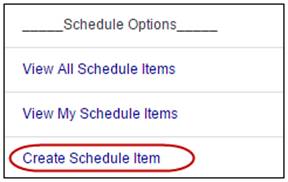
To make a new schedule item: 1. Click the Create Schedule Item link in the left-side menu. Note: If the Setup Options do not appear, contact the Project Administrator to enable this feature. |
|
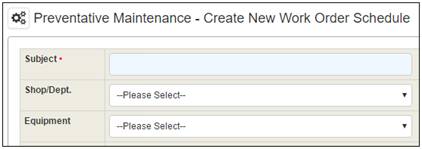
2. Enter the required information. 3. Click the Save button. Note: If configured to do so by the Site Admin, the Issue Date is when the work order will be automatically created within Projectmates. |
|
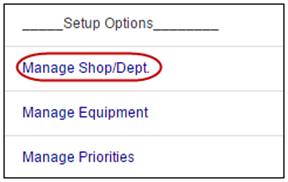
To manage the servicing agents for your organization, click the Manage Shop/Dept. link in the left-side menu. Note: If the Setup Options do not appear, contact the Project Administrator to enable this feature. Note: The word used for 'Shop/Dept.' is customizable and may appear differently on your screen. |
|
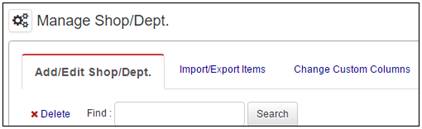
This screen has three tabs: · Add/Edit Shop/Dept. · Import/Export Items · Change Custom Columns |
|
The first tab, Add/Edit Shop/Dept., allows the user to add, edit or delete shops or departments as well as search for existing shops or departments.
|
To add items to the Shop/Dept. list: 1. Enter a number and description for the shop or department as well as any other information in the custom fields as necessary. 2. Click the Add New button. |

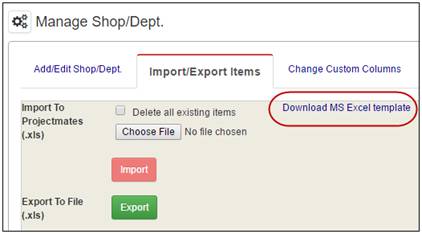
The second tab, Import/Export Items, allows the user to quickly import or export shops or departments using an Excel template. |
To import items: 1. Click the Download MS Excel template link. 2. Fill out the template in Excel and save the file. 3. In Projectmates, click the Browse… or Choose File button to select the file. 4. Optionally, mark the check box to Delete all existing items. 5. Click the Import button.
To export items, click the Export button. |
|
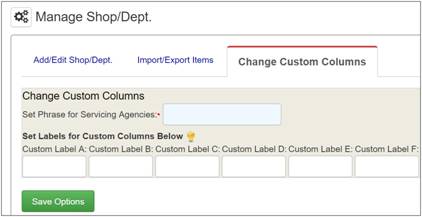
The third tab, Change Custom Columns, allows the user to alter the term used for Shop/Dept. as well as the columns for tracking items listed in this field. |
To change custom columns: 1. Enter the new or existing Phrase for Servicing Agencies. 2. Add custom column headings in the six available label fields. 3. Click the Save Options button. |
|
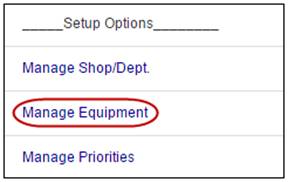
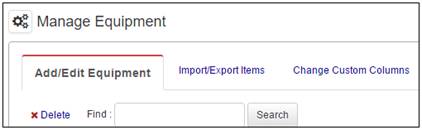
To manage the list of equipment for your organization, click the Manage Equipment link in the left-side menu. Note: If the Setup Options do not appear, contact the Project Administrator to enable this feature. Note: The word used for 'Equipment' may differ. |
|
This screen has three tabs: · Add/Edit Equipment · Import/Export Items · Change Custom Columns |
|
The first tab, Add/Edit Equipment, allows the user to add, edit or delete equipment as well as search for existing equipment.
|
To add pieces of equipment to the list: 1. Enter a number and description for the piece of equipment as well as any other information in the custom fields as necessary. 2. Click the Add New button. |

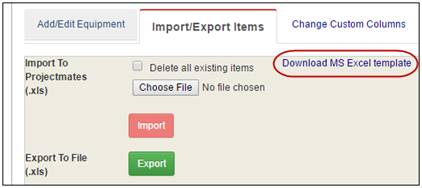
The second tab, Import/Export Items, allows the user to quickly import or export shops or departments using an Excel template. |
To import items: 1. Click the Download MS Excel template link. 2. Fill out the template in Excel and save the file. 3. In Projectmates, click the Browse… or Choose File button to select the file. 4. Optionally, mark the check box to Delete all existing items. 5. Click the Import button.
To export items, click the Export button. |
|
The third tab, Change Custom Columns, allows the user to alter the term used for Equipment as well as the columns for tracking items listed in this field. |
To change custom columns: 1. Enter the new or existing Phrase for Items to be Serviced. 2. Add custom column headings in the six available label fields. 3. Click the Save Options button. |
|
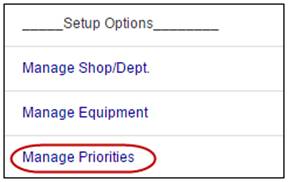
To manage priority levels for your organization, click the Manage Priorities link in the left-side menu. Note: If the Setup Options do not appear, contact the Project Administrator to enable this feature. Note: The word used for 'Priority' may differ. |
|
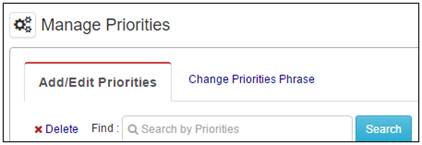
This screen has two tabs: · Add/Edit Priorities · Change Priorities Phrase |
|
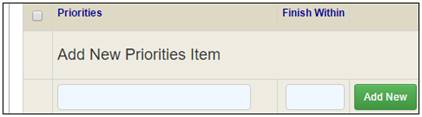
The first tab, Add/Edit Priorities, allows the user to add, edit or delete priority levels as well as define the number of days allotted for completion of an item associated with the priority level. |
To add priority levels to the list: 1. Enter a description for the priority level as well as the number of days allotted. 2. Click the Add New button. |
|
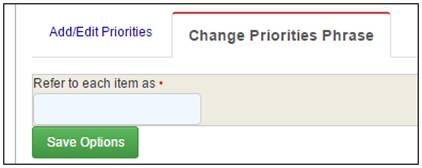
The second tab, Change Priorities Phrase, allows the user to alter the term used for priority levels.
To customize the naming convention used for priority levels: 1. Enter the new term in the field labeled Refer to each item as. 2. Click the Save Options button. |
|