9. Photo Album
Photo Album makes it easy to organize images in menus and folders, called albums. You can browse photos with small thumbnails to see more than a few at a time, create a slide show, or even download originals to your local hard drive.
Along with image viewing, Photo Album has many more functions for image management, including changing orientation, adding titles, and even creating slide shows. |
Watch the Documents & Photos Training Video
Projectmates University offers several training videos to help on-board new users.
To access the Documents & Photos training video,
look for the ![]() Video
icon.
Video
icon.

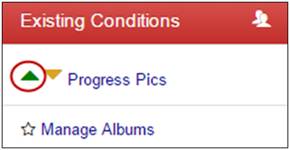
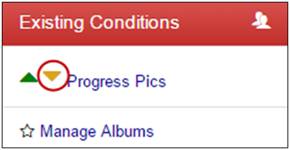
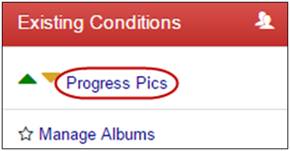
Once you are in the Photo Album module, the Photo Album threads will be shown in the left-side menu.
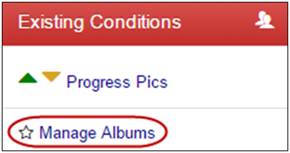
To create a new photo album: 1. Open the desired
thread and click the |
|
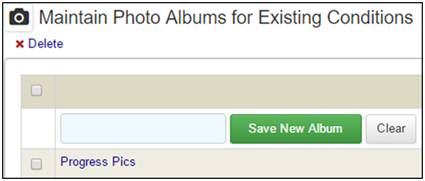
2. On the Maintain Photo Albums screen, enter the new album name. 3. Click the Save New Album button.
A new blank album is created within the thread. Note: If the Manage Albums menu option is not visible, contact the Project Administrator regarding thread permissions. |
|
Editing an Existing Photo Album
To edit album names and permissions: 1. Open the desired
thread and click the |
|
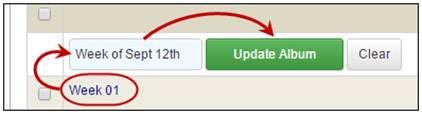
2. On the Maintain Photo Albums screen, click the name of the album you want to edit. 3. Make changes. 4. Click the Update Album button. |
|
To delete an album: 1. Open the desired
thread and click the |
|
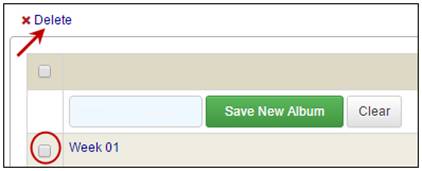
2. Mark the check box for the album to be removed. 3. Click the
Note: Delete albums carefully! Once removed, pictures in that album will be deleted. |
|
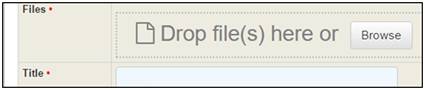
To upload photos: 1. Click the green upload icon in the left-side menu next to the album where you want to upload photos. |
|
2. You can click in the box or drag and drop image files. 3. Enter the Title for the photos you are uploading. |
|
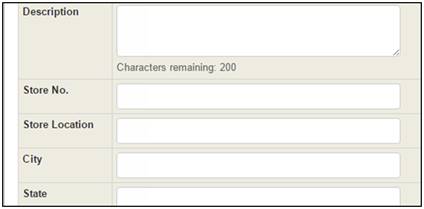
4. Optionally, there are up to five metadata fields which can be populated. Note: To change the labels for these fields, contact your Administrator. |
|
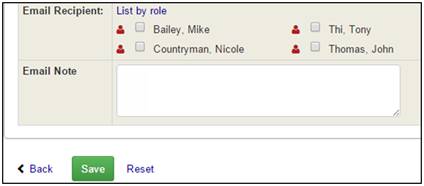
5. You can also choose to send email notifications to your team members. 6. Click Save to start the upload process.
You will receive notification that these photos have been uploaded. |
|
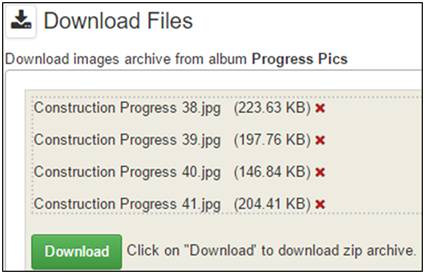
To download photos: 1. Click the yellow download icon in the left-side menu next to the album where you want to download photos. |
|
2. Optionally,
you can click the 3. Click the Download button to initiate the download process. This will create a zip file of the photos in this album. 4. Use your browser to determine where to save the zip file. |
|
To view the photos in an album: 1. Click the thread name in the left-side menu to expand the list of albums within that thread. 2. Click the album name to open the album. |
|
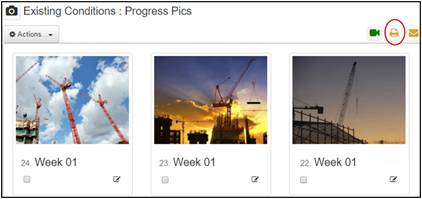
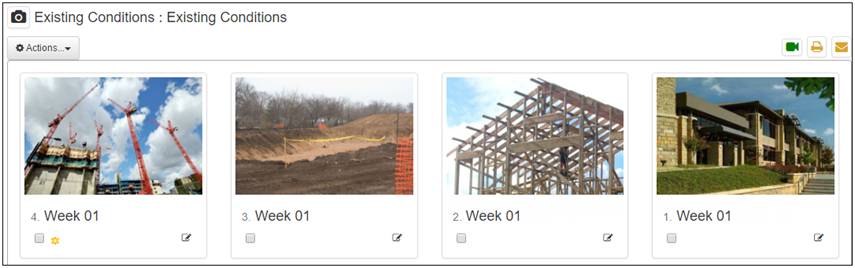
The Thumbnail view of the photo album will load into the main screen, by default. These images are web-safe replicas of the actual photos that have been saved in Projectmates.
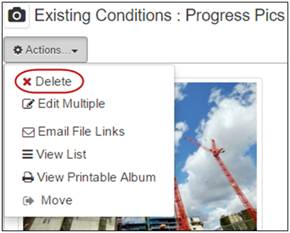
Above the thumbnails, you will see the Actions drop-down on the left and the Printer Friendly and Email icons on the right.
Beneath the thumbnails, you will see the image
titles, |
To delete one or more photos: 1. Click the check boxes for the photos you want to delete. 2. Then click the Delete link from the Actions drop-down. |
|
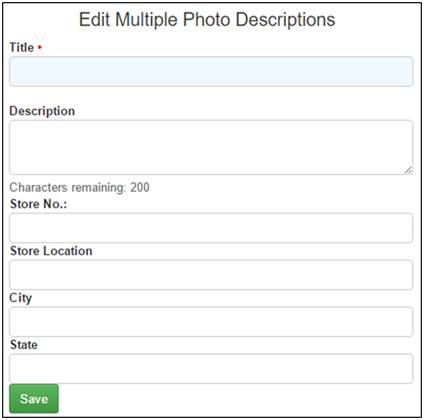
To edit multiple photos: 1. Click the check boxes for all of the photos you want to edit. 2. Click the Edit Multiple link from the Actions drop-down. |
|
The Edit Multiple Photo Descriptions pop-up will display.
3. Enter the information you want to display in each of the available fields. 4. Click the Save button.
All of the photos that you selected will have the new information that you entered. |
|
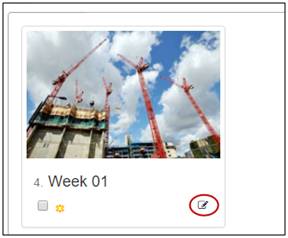
To edit a single photo: 1. Click the
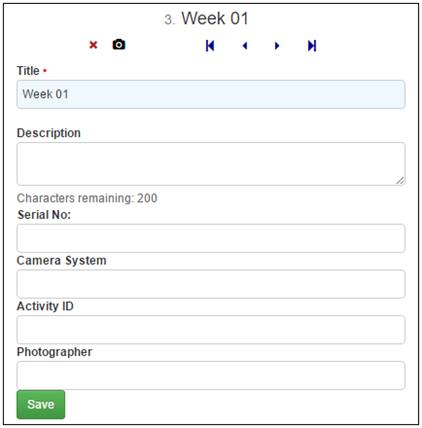
The Edit Photo pop-up will display. |
|
Description of the following icons:
2. Enter any text as required in the metadata fields.
3. Click Save. Note: The metadata field labels may differ from those shown here. They are configurable by the Administrator. |
|
To rotate the photo: 1. Click the 2. Click the 3. Use the |
|
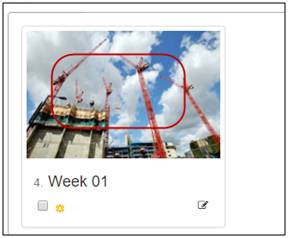
To open a slide show of your photos, click the thumbnail image.
The slide show will now be displayed with a black background.
To go back to the thumbnails, click the background. |
|
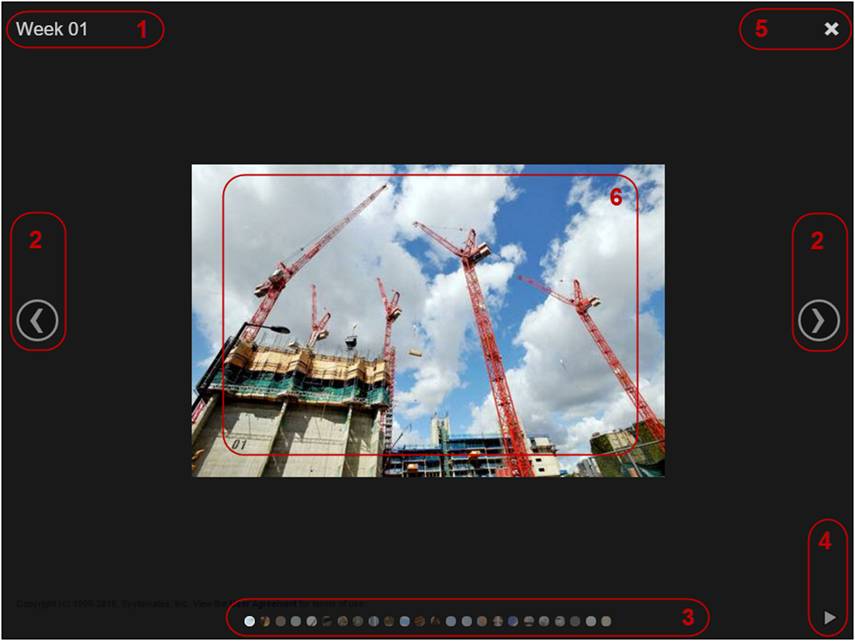
1. Title of the photo that is currently being displayed 2. Navigation buttons – You can click left or right arrows to go to the previous or next photo, respectively. 3. Image Icons - These are tiny images of the photos in this album. You can click on any one of them to jump to that image. 4. Play button – Click to sit back and watch the slide show stream across the screen. 5. Close button – Click to go back to the thumbnail view. 6. Image |
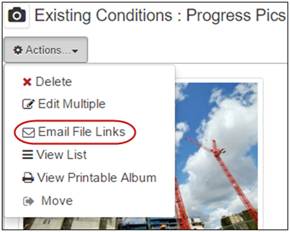
To email file links for photos: 1. Mark the check boxes of the photos to be emailed as links. 2. Click Email File Links option from the Actions drop-down.
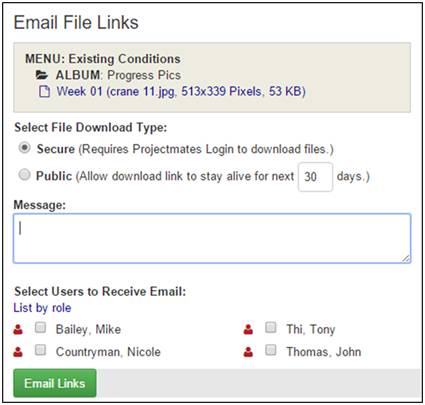
The Email File Links pop-up will display. |
|
3. To send to team members, mark the check boxes next to their names. 4. To send to others: 5. Optionally, enter a message to appear in the email that will be sent. 6. Click Send button. |
|
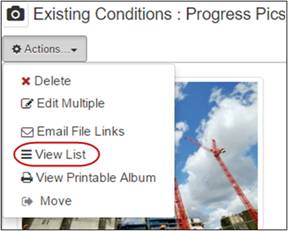
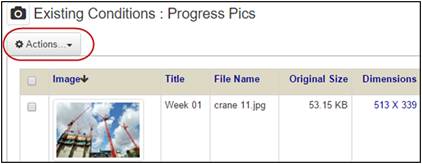
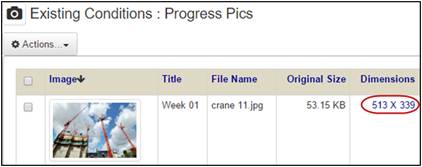
To view photos in a list view, click the View List option from the Actions drop-down.
A list view will be presented with the following columns: Image, Title, File Name, Original Size, Dimensions, Date Added, and By. Note: To go back, just click the View Thumbnails link in the Actions drop-down. |
|
Just like in the Thumbnail View, if you want to delete, edit, or email photos, select the check boxes for the photos and click the Action option you want to take. |
|
To view a larger image of the thumbnail, simply click on the dimensions of the image. |
|
To print either the thumbnail or the list view pages:
1. Open the album to the view that you want to print. 2. Click the
Projectmates will open a new window with a printer friendly version of the photo album.
3. Use your browser functionalities to print the page. |
|
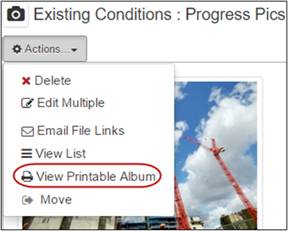
To print a photo album: 1. Open the album that you want to print. 2. Click the View Printable Album link from the Actions drop-down. |
|
3. Projectmates will open a new window in your browser with a printer friendly album that includes all the details pertaining to each photo. |
|
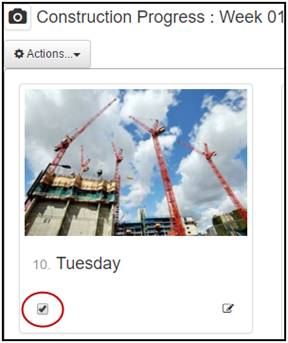
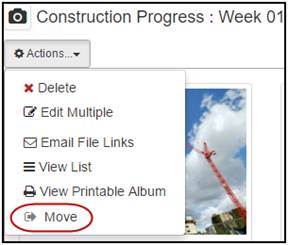
To move photos from one album to another: 1. Mark the check box for one or more photos to be moved. |
|
2. Select Move from the Actions drop-down menu. |
|
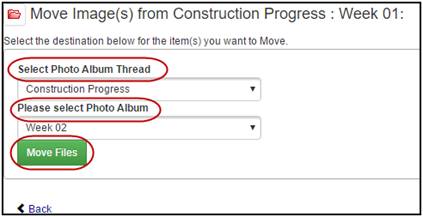
3. Use the drop-down menus to Select the Photo Album Thread and Please select Photo Album. 4. Click the Move Files button. |
|