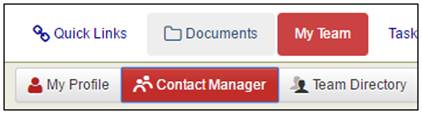
Click My Team and select the Contact Manager button in the navigation frame.
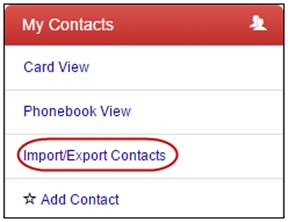
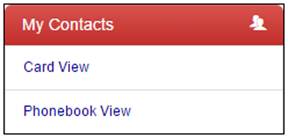
The My Contacts menu options are presented in the left-side menu.
You can select the different menu options to view, add, or filter the contact list.
6. Contact Manager
The Projectmates Contact Manager module is an integrated solution for managing and organizing contact information such as names, email addresses, phone numbers, mailing addresses, and other information.
Projectmates Contact Manager offers innovations you can use to manage your personal contacts as well as project contacts and share them with other team members — all from one place. |
Click My Team and select the Contact Manager button in the navigation frame. |
|
The My Contacts menu options are presented in the left-side menu.
You can select the different menu options to view, add, or filter the contact list. |
|
Watch the My Team/Contact Manager Training Video
Projectmates University offers several training videos to help on-board new users. To access the My Team/Contact Manager training
video, look for the |

The contact manager allows your team to have a list of persons and companies that they associate with regarding this project. Think of the contact list as a phone book or rolodex. These contacts do not have access to Projectmates unless they are a team member.
You can view contact information in a Phonebook or Card view. The Card view looks similar to an index card and displays all information for a specific contact. The Phonebook view is a simple listing of all contacts and pertinent information in a table format. |
Contacts are shown in the card view by default.
You can click the Phonebook View and Card View links to view the contacts in respective views. |
|
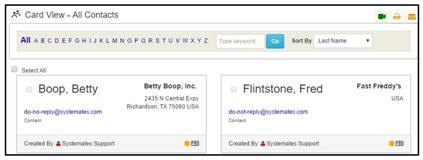
The diagram to the right shows how the card view will appear. |
|
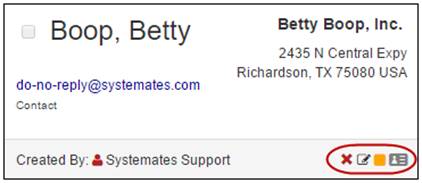
Explanation of Additional Icons: While viewing contacts in the Card View, actions are available through additional icons in the lower right-hand corner of each contact card:
|
|
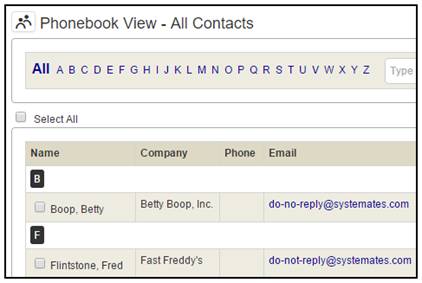
Phonebook view allows you to view partial contact information in a spreadsheet or list view. |
|
An example of the Phonebook view is in the diagram to the right.
You can print this list by setting up the page to print Landscape. |
|
In addition to these view options, there are a variety of sorting and filtering options.
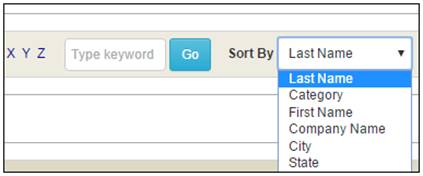
You can sort the contacts by selecting a sort term in the Sort By drop-down menu.
The following options are available: |
|
|
· Last Name · Category · First Name |
· Company Name · City · State |
|
To filter the list of contacts
displayed, you can click on the Alphabet
This filter works in conjunction with the Sort By selection. |
|
For example: If the list is sorted by Company, clicking the letter "A" will display all company names that start with the letter A.
Click the ![]() icon
to remove the filter and show all contacts.
icon
to remove the filter and show all contacts.
Enter a keyword and click Go to show contacts with the same term. |
|
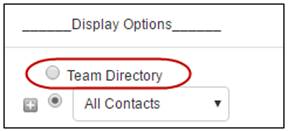
From the Contact Manager module, you can click the radial button for Team Directory in the left-side menu to view the list of team members. |
|
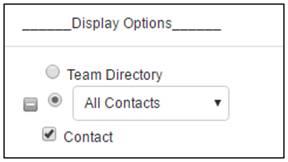
To view the list of contacts, select the radio button for All Contacts. To view subsets of contacts, select from the drop-down menu: 1. All Contacts 2. Personal Contacts 3. Shared Contacts Below the radial button options, there are check boxes for the different categories of contacts. Select or deselect these check boxes to view the contacts in each category. Note: If the number of contact categories exceeds 50, the list of category types will be unable to display in the left-side menu. |
|
Importing and Exporting Contacts
Multiple contacts can be imported from an Excel spreadsheet. The Excel spreadsheet can be populated manually, or you can export contacts from Microsoft Outlook to Excel. You can download the Microsoft Excel Template (ContactsTemplate.xls) to see the format needed to upload the contact information. |
To access the Import/Export screen: 1. Open the Contact menu. 2. Click the Import/Export Contacts link. |
|
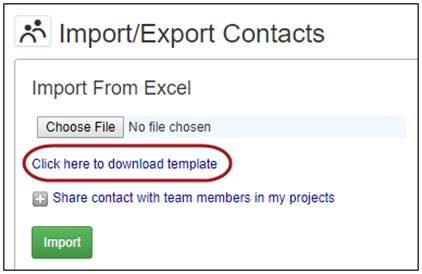
To import contacts into Projectmates: 1. Download the template to your hard drive by clicking the Click here to download template link. 2. Once the template is complete and saved, click the Browse or Choose File button and select the Excel file from your computer. 3. Optionally, you can utilize the Share contact with team members in my projects link. 4. Click the Import button. |
|
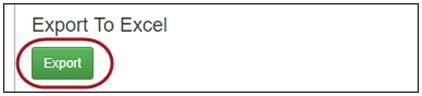
To export contacts from Projectmates: 1. Click the Export button. 2. Use your browser prompts to save the file. |
|
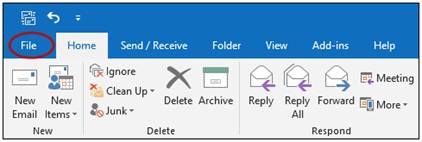
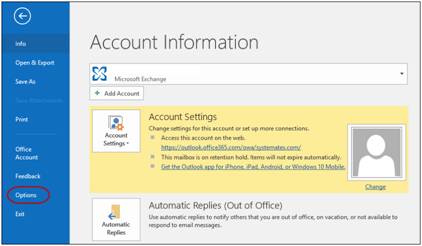
To export contacts from Microsoft Outlook to Microsoft Excel: 1. In Microsoft Outlook, click the File tab. |
|
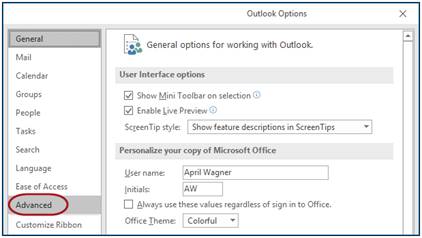
2. Click Options. |
|
3. Click Advanced in the left column. |
|
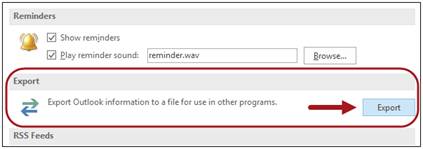
4. Locate the Export section and click the Export button. |
|
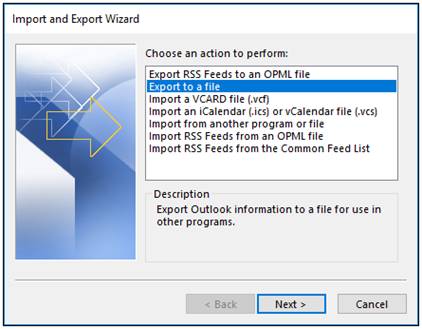
5. In the Import and Export Wizard, click Export to a file, and then click Next. |
|
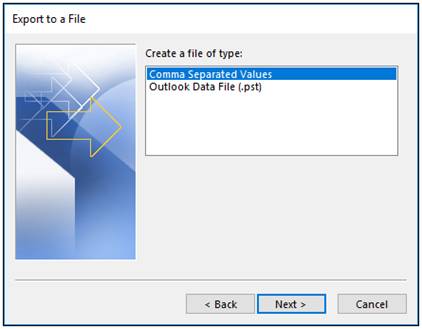
6. Under Create a file of type, click Microsoft Excel 97-2003, and then click Next. |
|
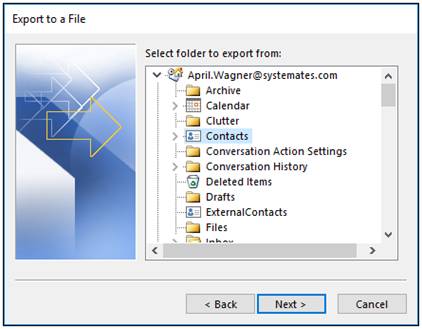
7. Under Select folder to export from, select the contact folder that you want to export, and then click Next. |
|
8. Under Save exported file as, click Browse, select a destination folder, and in the File name box, type a name for the file. 9. Click OK. 10. In the Export to a File dialog box, click Next. |
|
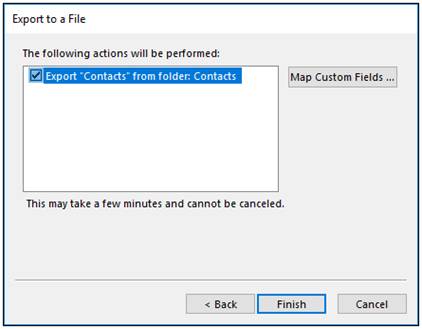
11. Click Finish. |
|
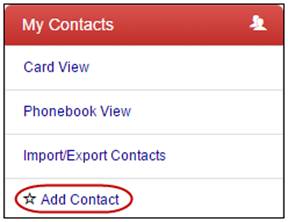
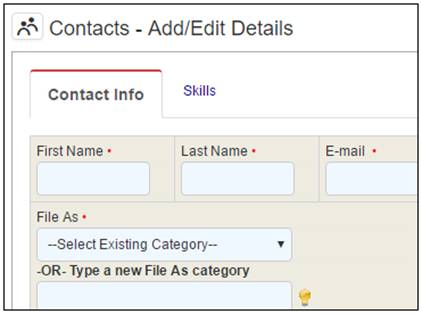
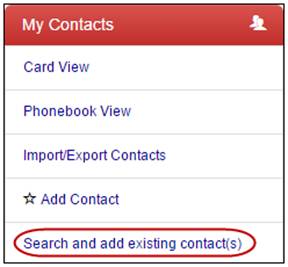
To add a new contact: 1. In the left-side menu, click the Add Contact link.
The Contacts – Add/Edit Details screen will display. |
|
2. Complete the form with information about the contact. The fields marked in red are required. Note: Phone numbers are allowed in multiple formats such as 999.999.9999 or 999-999-9999. If no formatting is entered, Projectmates will auto format to (999) 999-9999. 3. Under 'File As' select an existing category from the drop-down list or create a new category by entering the name in the text field. Note: Project Administrators define who can add custom categories. |
|
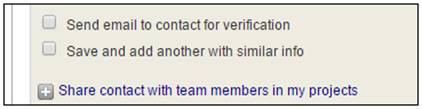
4. You can have Projectmates send a verification request to the contact by marking the check box for Send email to contact for verification. 5. Also, you can have Projectmates pre-fill most of the fields for another new contact by selecting the check box for Save and add another with similar info. |
|
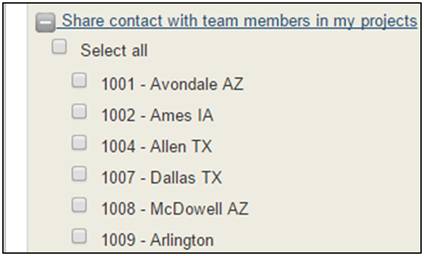
6. Additionally,
you have the option to Share
contact with team members in my projects by clicking the
expansion button for this. Note: All contacts are listed as Personal Contacts, unless the contacts are shared with your team members. |
|
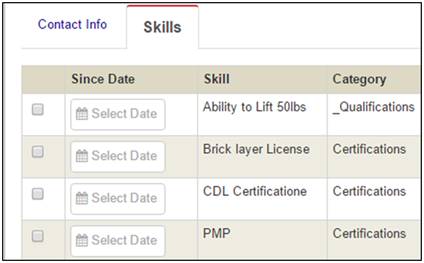
7. If
Skills have been set up by the Site Administrator, you can click
the Skills tab to enter information about the skills and certifications
that the contact has. 8. Click the Save button to keep the new contact information. |
|
Search and Add Existing Contacts
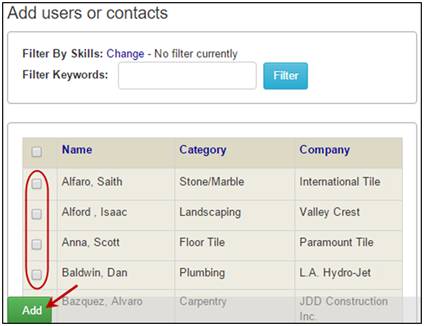
To add existing contacts to a project: 1. Click the Search and add existing contact(s) link in the left-side menu. 2. A pop-up window will display with a list of all contacts that are available. |
|
3. Select
one or more contacts from the list. |
|
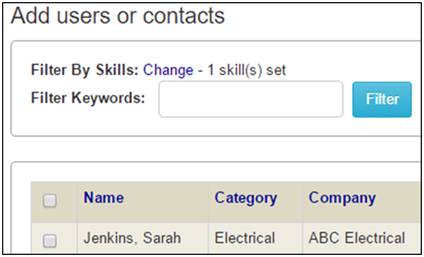
4. Or use the filters by selecting Change in Filter by Skills. 5. Select the skill that you want to filter by, and then press OK at the bottom. |
|
6. Select from the filtered list of contacts that is generated. |
|
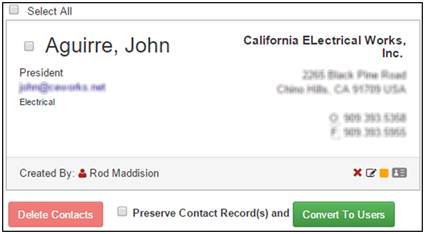
Sometimes a vendor will initially be a contact and later need access to log into Projectmates. In this case, there is no need to retype the user information. Simply convert the contact to a user. The user will then appear in the Team Directory. |
To convert a contact to a Projectmates User: 1. Mark the check box for one or more contacts to be converted into users. 2. If you want to keep the contact in Contact Manager, mark the check box for Preserve Contact Record(s). 3. Click the Convert To Users button.
The contact will receive an automated email from Projectmates with his/her username and a randomly generated password. |
|