Projectmates University offers
several training videos to help on-board new users. To access
the Documents & Photos training video, look for the ![]() Video
icon.
Video
icon.
5. Managing Documents and Files
Watch the Documents & Photos Training Video
Projectmates University offers
several training videos to help on-board new users. To access
the Documents & Photos training video, look for the |
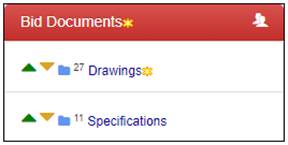
File storage structure is completely customizable, although some changes must be done by the Project Admin.
First, the Project Admin can assign all of the groups listed under the Documents tab in the navigation pane. See Design, Construction and Close Out in the diagram above.
Second, the Project Admin also assigns the left-side menus with user permissions. See Bid Documents, Addenda, and Revisions in the diagram above.
|
Finally, users with appropriate permissions can create any combination, level or number of folders, subfolders, or files. See all of the other folders and files in the diagram above. |
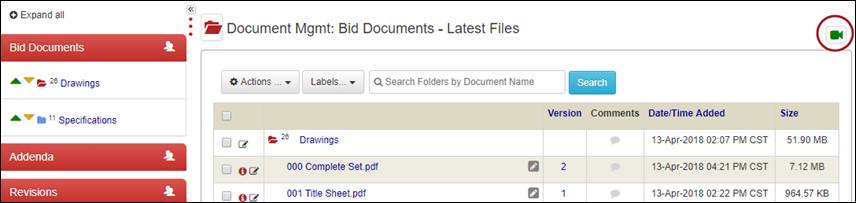
Accessing Documents Area
Projectmates offers a unique way to prepare a document and file management structure for a project site. |
Access to documents and files is provided through the Documents tab and underlying groups in the navigation pane. |
|
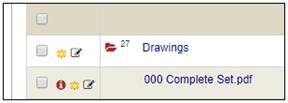
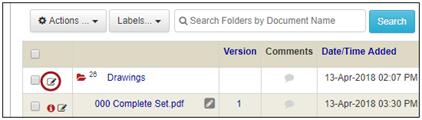
Identifying Recently Uploaded Files
Any files added since the
last time you logged into the project are notated with the |
|
Follow the |
|
Each new file is denoted
by the |
|
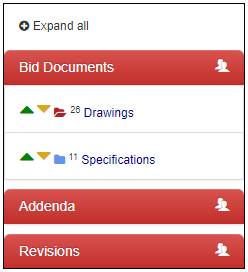
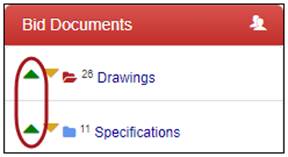
Each document group contains a list of menus. Users can create folders and subfolders under the menus and store files in the folders or subfolders. |
· To
view all subfolders, click · To view the contents of a particular menu, click the name of menu. Document Menus are the items in the red bars, i.e. Bid Documents, Addenda, and Revisions. · To
view a list of users with access to the menu, click on the · To
upload files, click the · To
download files, click the · To
view the contents of the folder, click the · |
|
Uploading Files – Standard Upload Process
Any file type can be uploaded in Projectmates Documents. This capability allows team members to share a multitude of files. Note: In order to see the upload
icon, a user must have rights to upload files. If you do not see
the |
To upload files in Projectmates: 1. Click the
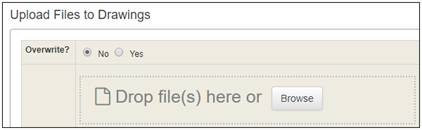
The standard upload pop-up will display. |
|
2. Select how you want the files uploaded: · By default, any files with the same name will be uploaded as a new version of the file. This is indicated by selecting No in the Overwrite field. · To delete and replace any files with the same name as the files you are uploading, choose Yes to overwrite existing files without creating new version numbers. 3. Drag and drop files on the upload pop-up or click the Browse button to select the files. |
|
4. Optionally,
prevent a file from being uploaded by selecting the |
|
5. Optionally, enter any Keywords to be used for all of the files included in this upload to help teammates identify documents later. 6. Optionally, enter a Label to indicate which drawing set you are uploading. 7. Optionally, mark the check boxes for any teammates to receive notification about this upload and enter a message to send in the email notification. 8. Click the Save button to initiate the upload process and send any notifications. |
|
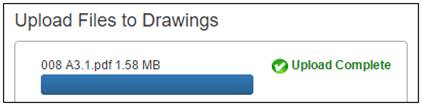
The upload bar will show the progress of the file upload.
The message 'Upload Complete' will appear when the group of files has finished uploading.
Once you receive the 'Upload Complete' message, it is safe to close the pop-up. |
|
Note: In order
to see the download icon, a user must have rights to download
files. If you do not see the |
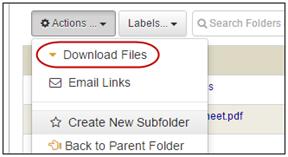
To download an entire folder: 1. Click the |
|
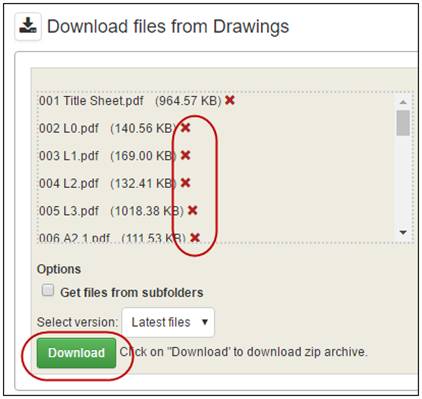
A new window will display with a list of all files within the folder.
2. Optionally, you
can choose not to download a file by clicking the Note: Selecting the
3. Optionally, mark the check box to Get files from subfolders. 4. Select the Download button at the bottom to start the process. First, the system will compile a zip file of the files. Then the system will begin to download the zip file according to your browser's settings. |
|
· · · · · · · · · · |
|
Note: In order
to see the download icon, a user must have rights to download
files. If you do not see the |
To download individual files or folders: 1. Mark the check boxes beside the files or folders to be downloaded. |
|
2. Select
the
Projectmates will create a zip file archive of the files or folders selected for download. This zip file will be downloaded according to the settings in your browser. |
|
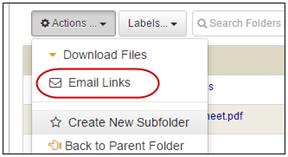
Emailing Links
Outside of email notifications sent when files are uploaded, you can send emails with links to files already in Projectmates. You can choose to send secure links to other Projectmates users or public links to non-Projectmates users. |
To send an email with links to download files: 1. Mark the check boxes for the files to be emailed. Note: Limit of 50 file links can be included in a single email. 2. Select
The Email File Links pop-up will display.
|
|
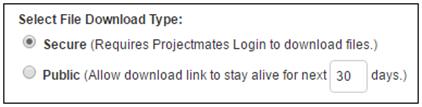
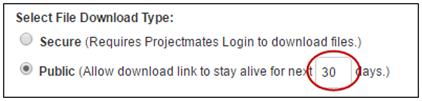
3. Select to send either a Secure link or a Public link. · Secure links require Projectmates login credentials. · Public links do not require Projectmates login credentials. |
|
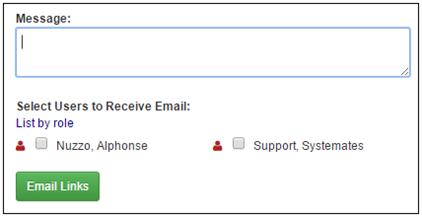
For secure email links: 1. Optionally, enter a message to include in the email. 2. Mark check boxes for users to receive the email. 3. Click the Email Links button to send email. |
|
For public links: 1. By default, the link will be alive for 30 days. Optionally, you can change this timeframe. Note: The maximum number of days that a link can stay alive is 720 days. |
|
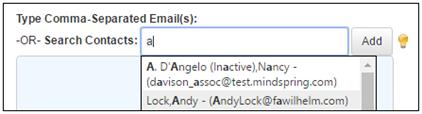
2. To enter email addresses by searching for contacts, you can enter part of a contact's first or last name in the Search Contacts field. · Once the contact is shown in the suggestions list, click the contact's name. · Click the Add button to include the contact's email address in the box below. Note: Only contacts that are entered in the project's Contact Manager module will be displayed as you type. 3. Alternatively, manually enter the email address of the intended recipient in the box below. When entering multiple emails, separate email addresses with a comma. |
|
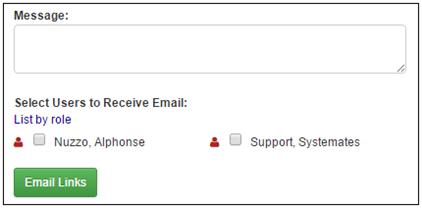
4. Optionally, enter a message to include in the email. 5. Optionally, select users to receive the email. 6. Click the Email Links button to send email. |
|
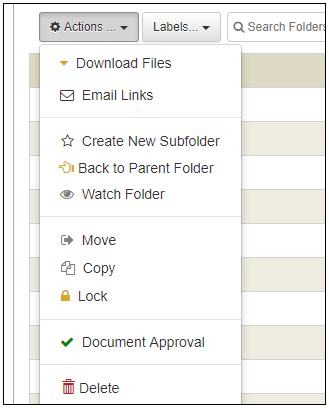
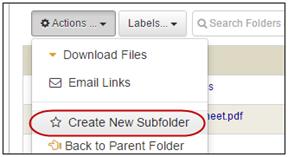
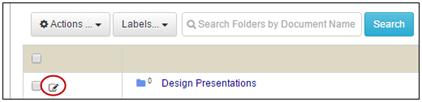
To add folders or subfolders: 1. Click the menu or folder under which you want to create a new folder.
The selected folder will display the
2. Select the Create New Subfolder link from the Actions drop-down menu. |
|
The Create New Folder pop-up will display.
3. Enter a name for the new folder.
4. Optionally, enter the folder's email address. Note: Internal and external project team members can email directly into folders with an email address. This feature is referred to as Smart Folders.
5. Optionally, enter keywords for the folder.
6. Click the Save button. |
|
This Action option will display the next folder up in the folder structure hierarchy. |
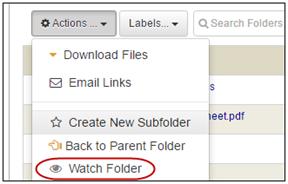
Users can select any document management folder as a Watch folder so that automatic email notifications will be sent to them when a new file is uploaded to that particular folder. |
To set-up Watch folders: 1. Mark the check boxes for one or more folders. 2. Select the |
|
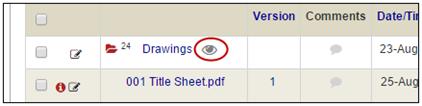
3. Notice
the
To disable Watch folders, mark the check box
for the folder. Then click the |
|
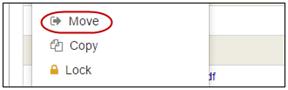
You can move or copy files from one directory to another within your project. This is a two-step process. First, select the files to be moved or copied; then assign the new folder location for the files. |
To select files to be moved or copied: 1. Mark the check boxes for the files. 2. Select the |
|
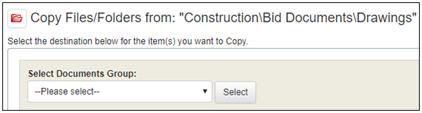
The Move or Copy Files/Folders screen will display.
To select the new location for the files: 1. Select the appropriate group from the Select Documents Group drop-down menu. 2. Click the Select button. Note: You cannot copy or move files to a locked folder. |
|
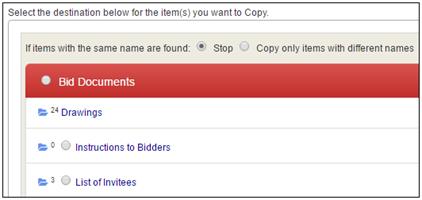
3. By default, the system will stop the process if there are duplicate file names. Optionally, select the radio button for Copy only items with different names. 4. Select the radio button for the new location folder. Note: You can only select one folder per action. 5. Click the Select button to finalize the copy or move.
The screen will be display with the destination folder showing the new location of the files. |
|
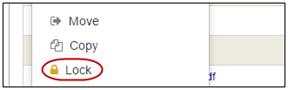
To lock files or folders: 1. Mark the check boxes for the files and/or folders. 2. Select 3. Locked files
and folders will be displayed with a Note: The Lock |
|
Projectmates allows you to approve individual files. Once approvals have been set up by your administrator, you can start the approval process. However, if this has not been setup, the Approval window will display the following message: Approval options have not been configured by your Administrator. |
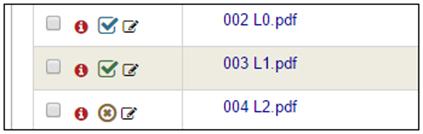
The approval status of a file is displayed using the following icons:
|
|
To start the approval process or reset an existing approval: 1. Mark the check box for a single file. 2. Select the |
|
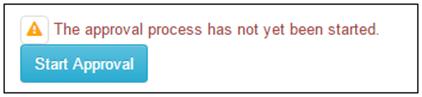
3. If the approval process has not been started yet, click the Start Approval button. |
|
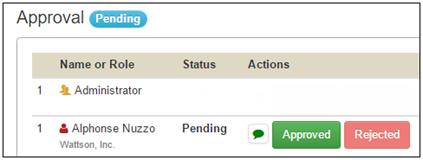
To approve a file: 1. Optionally, click
the 2. Click either the Approved or Rejected button. |
|
You can delete files by marking
the check boxes for the files and selecting the Note: Once a file has been deleted, it is very likely gone for good. |
|
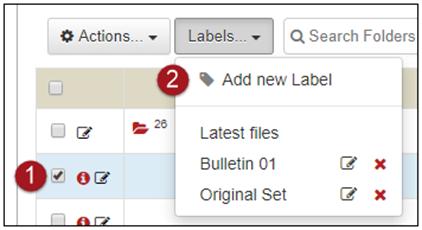
To apply a label to a file that has already been uploaded: 1. Mark the check boxes for the files to receive the label. 2. Select |
|
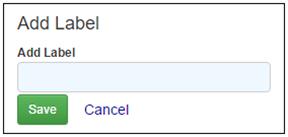
3. Enter the Label. This label will be given to all items you marked. 4. Click Save.
Alternatively, you can add a label to a set of files during the upload process. Review Uploading Files – Standard Upload Process section above. |
|
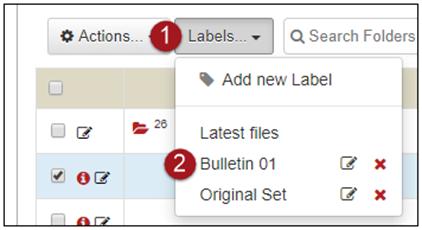
By default, the Latest Files are displayed when you open a folder. Latest Files is a special label that is applied to the latest, or most current, version of each file that has been uploaded into that folder.
You can choose to filter the list of files by their assigned label by selecting that label from the Labels drop-down menu.
Only files that have been assigned the selected label will be displayed, even if they are not the latest version of that file. |
|
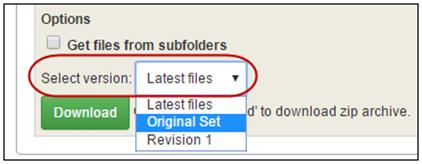
Downloading Files by Label
To download files with a given label: 1. Click the 2. At the bottom of the Download files pop-up, use the Select version field to choose which label you want to download. 3. All files with this label will be displayed in the Download files pop-up. 4. Click the Download button to complete. |
|
To edit a label that is currently being used by one or more files in the folder: 1. Click the Labels… button. 2. Select 3. When you have
finished updating the label, click the |
|
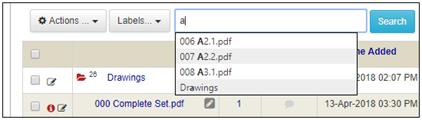
To search for a file by name: 1. Enter any part of the name of the file in the Search box.
A drop-down list will begin to show you those files that match what you have entered.
2. Optionally, click any file names you want to search for from the suggestions box. 3. Click Search to filter the list of files by your search term. |
|
Document Folders and Subfolders
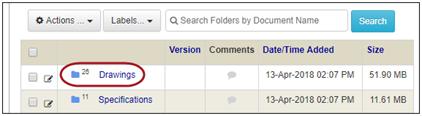
Document files are organized in Groups, Menus, and folders, all of which are easily customizable to match your organization's folder and file structure. Files are stored within folders and subfolders. |
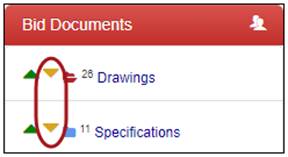
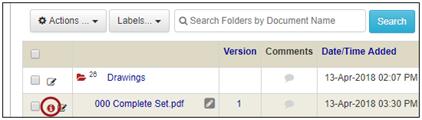
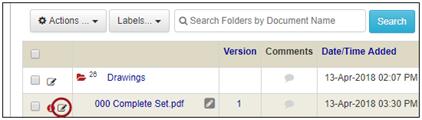
The number next to the
To view the subfolders and files within a folder, click the name of the folder.
The |
|
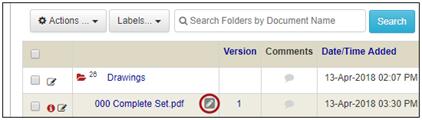
Users with Manage rights can alter key aspects of a folder, including changing the folder name, adding an email address for smart folders, and assigning keywords.
To edit a folder: 1. Click the |
|
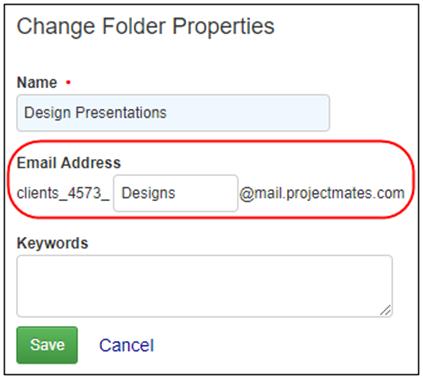
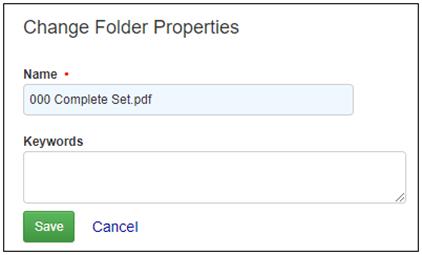
In the Change Folder Properties pop-up, the current folder settings will be displayed.
2. Make any necessary changes to the folder name, email address and/or keywords.
3. Click the Save button.
Note: A folder cannot be renamed if it is locked. |
|
Non-Projectmates users can upload emails including attachments using Smart Folders. First, the Smart Folder configuration needs to be set up. Then, non-Projectmates users can send an email to the document folder.
The system will run a process to deliver the email and any attachments to a subfolder within the Smart Folder. |
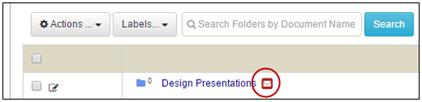
To set up a Smart Folder: 1. Select the |
|
2. In the Change Folder Properties pop-up, enter appropriate text in the Email Address field.
Note: Do not include any spaces or other email-unfriendly characters in the Email Address field.
Note: The prefix and suffix shown are part of the email address and are not editable. These are in place to ensure proper delivery of emails sent to this location.
Note: If you do not see the Edit icon, please talk to your Projectmates administrator. |
|
3. Click
the |
|
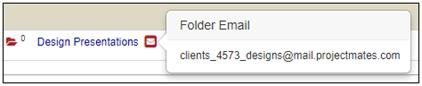
4. Highlight and copy the email address for the Smart Folder to paste into notification for non-Projectmates users. |
|
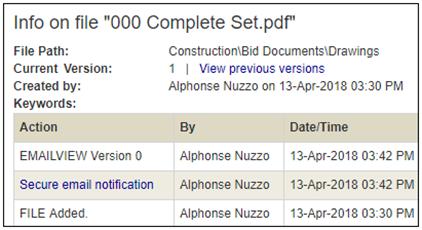
To open the file audit log,
click the |
|
A new pop-up window displays the file history as well as the access log. |
|
Editing Files and Keywords
File names and keywords are important for team members to quickly determine the contents of a file. Keywords can be added during the upload process or when renaming a file in Projectmates. |
To rename a file or add/edit keywords: 1. Click the |
|
2. In the Change Properties pop-up, the current name and keywords will be displayed.
3. Make any necessary changes to the Name and/or Keywords.
4. Click the Save button.
Note: A file cannot be renamed if it is locked or approved. |
|
To download a file to your computer, click the file name link.
The file will download according to the settings in your browser. |
|
PDF
Viewer with Collaborative PDF Markups – ![]() Add
on Feature
Add
on Feature
View and carry out instant markups on PDF files right within Projectmates to provide team members with feedback. This new technology is supported on all modern browsers (Chrome, Firefox, Edge, and Safari) and iOS devices. |
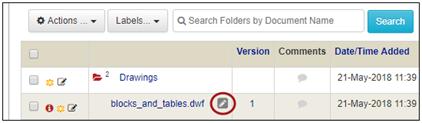
To open a file in the PDF
Viewer, click the
The file will open in the PDF Viewer in a new tab in your browser. |
|
To collaborate with other
users in the PDF Viewer simultaneously, have one or more team
members click the |

1. Thumbnails – toggles to show or hide 2. Paging – shows what page you are currently viewing 3. Pan Mode – click to switch to pan mode. 4. Zoom – use these buttons to zoom in or out. 5. Fit Page – click to change view to show the whole page. 6. File Name – shows the name of the PDF |
7. Text tool – click to add a text box to the PDF. 8. Ink tool – click to freehand draw on the PDF. 9. Note tool – click to add a note on the PDF. 10. Print tool – click to print the PDF with markups. 11. Search tool – search for terms in text or note markups 12. Save – saves the markups to Projectmates |
Note: If you are interested in purchasing the PDF, 2D Drawing and 3D BIM Viewer tools, please contact Systemates by calling 214.217.4100 or emailing info@systemates.com.
2D Drawing Viewer
with Markups - ![]() Add on Feature
Add on Feature
Projectmates 2D Drawing viewer lets you easily view and share designs for most 2D formats, including DWF, DWG, and DGN. This new technology is supported on all modern browsers (Chrome, Firefox, Edge, and Safari) and iOS devices. |
To open a file in the 2D
Drawing Viewer, click the
The file will open in the 2D Drawing Viewer in a new tab in your browser. |
|
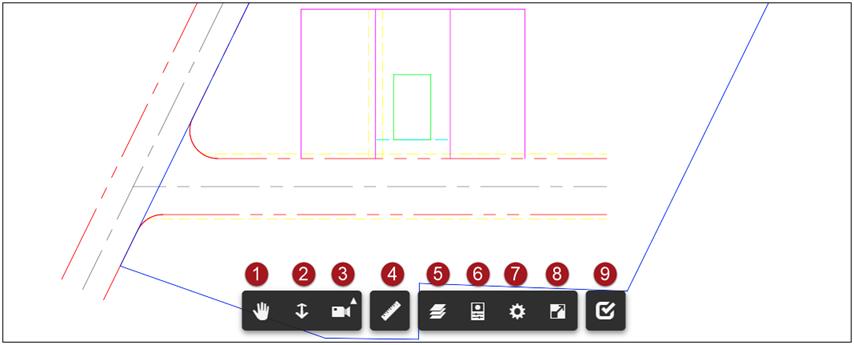
1. Pan – click to switch to pan mode. 2. Zoom – use this tool to zoom in or out. 3. Camera Interactions – access camera options. 4. Measure – access the measurement tool 5. Layer Manager – select which layers to display. |
6. Properties – displays the properties pane. 7. Settings – click to access Settings menu. 8. Full Screen – click to switch to full screen view. 9. Markup 2D – click to add markups to the image. |
Note: If you are interested in purchasing the PDF, 2D Drawing and 3D BIM Viewer tools, please contact Systemates by calling 214.217.4100 or emailing info@systemates.com.
3D BIM Viewer with
Markups – ![]() Add on Feature
Add on Feature
Projectmates BIM viewer lets you easily view and share designs for most 3D formats, including RVT, DWG, and DGN. The view supports over two dozen vector file formats. Additionally, the BIM viewer gives you the ability to manage quantity takeoffs & measurements. This new technology is supported on all modern browsers (Chrome, Firefox, Edge, and Safari) and iOS devices. |
To open a file in the BIM
Viewer, click the
The file will open in the BIM Viewer in a new tab in your browser. |
|
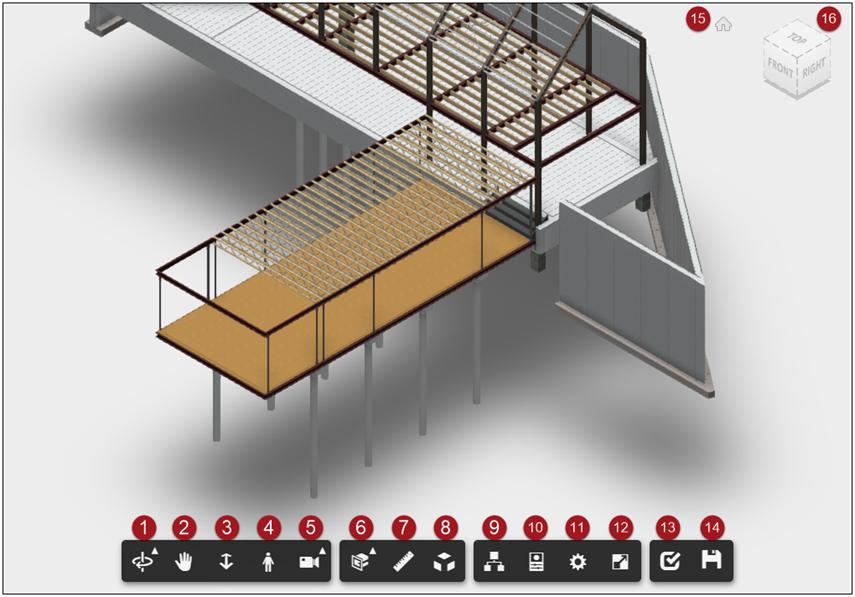
1. Orbit – rotates image. 2. Pan – click to switch to pan mode. 3. Zoom – use this tool to zoom in or out. 4. First Person – click to switch to first person view. 5. Camera Interactions – access camera options. 6. Section Analysis – access analysis options. 7. Measure – access the measurement tool 8. Explode Model – expands the parts of the model. |
9. Model Browser – accesses the model browser pane. 10. Properties – displays the properties pane. 11. Settings – click to access Settings menu. 12. Full Screen – click to switch to full screen view. 13. Markup 3D – click to attach notes to the image. 14. Save Markup – saves markups within BIM Viewer. 15. Home – click to return to the original view. 16. Orientation – click to view image from different angle. |
Note: If you are interested in purchasing the PDF, 2D Drawing and 3D BIM Viewer tools, please contact Systemates by calling 214.217.4100 or emailing info@systemates.com.
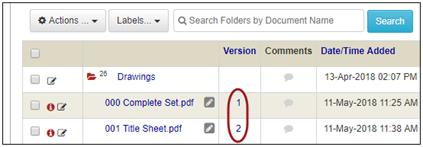
Projectmates saves a copy of previous versions of files. Each time you upload a revised file, Projectmates assigns a latest version number to that file. By default, you always see the latest version of files displayed in the file listing. |
The number denotes number of versions of the file.
To view the version history of a file, click the version number.
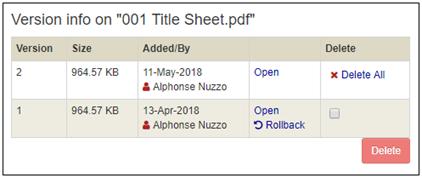
A pop-up showing a list of all versions of the single file will display. |
|
Notice that for each version of the file, there are a few different options that you can perform. · To open the version, click Open. · To revert back to a prior version of the file, which will delete all versions uploaded after it, click Rollback. · To delete the selected version, mark the check box for the version to be deleted. Then click the Delete button. |
|
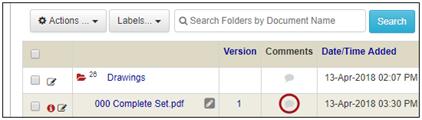
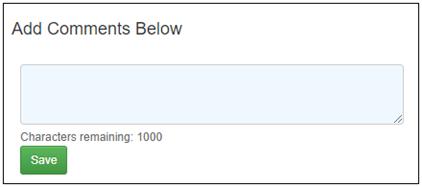
To add comments to a file or folder
1. Click the
The Add Comments Below pop-up will display. |
|
2. Enter any comments that pertain to the file or folder. 3. Click the Save button.
Once you have saved your comments, they will be displayed below the Save button with a user/date/time stamp.
In addition, the |
|
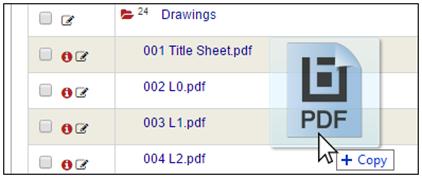
For a faster method to add documents, use Quick Upload. When using this method, you can use the drag and drop feature to upload files from your computer into the selected folder. |
To upload files to Projectmates using the Quick Upload method: 1. Select the folder where you want to upload one or more files. It should have a red folder icon when selected. 2. Drag and drop the files on to the screen. |
|
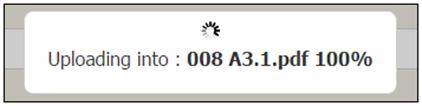
A message will display to show the upload progress. Note: No keywords or labels are added and no notifications are sent when you use Quick Upload. Note: Stay on the screen where files are getting uploaded to complete the upload process. |
|